

0 items in your cart
0 items in your cart
Sake is a brewed beverage it is not distilled. The process is more akin to beer production than it is anything else. The old adage is, “sake is brewed like a beer but drunk like a wine”. So, strictly speaking, sake is more similar, in terms of production, to a beer than a wine! Of course, how sake is made is a little more complicated than that…
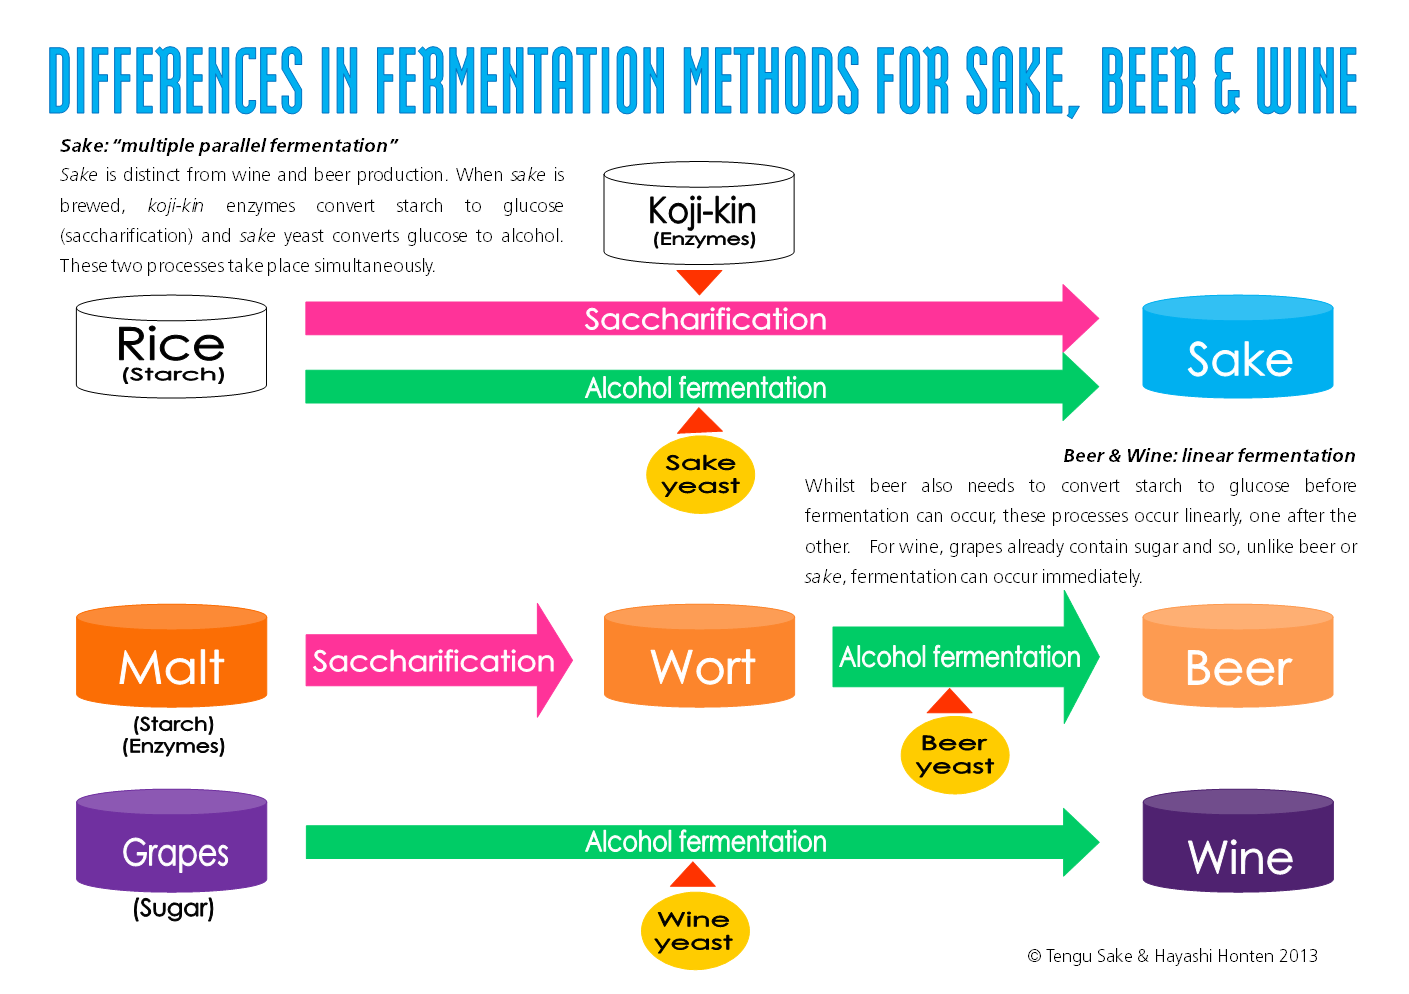
The best way to start looking at sake production is by comparing the process with that of beer and wine. In essence, wine is a simple fermentation: sugars to alcohol. Beer uses barley or sometimes wheat, neither of these contains any sugars; rather, they contain starch. The starch must first be converted to sugars (using malt) and then the sugars can be converted to alcohol. Sake has the same issue, the fermentable ingredient is rice – also containing no sugars, only starch. In the case of sake, though, starch is converted to sugars by a special enzyme-secreting mould called koji-kin. Furthermore with beer, whilst the starch to sugars, sugars to alcohol processes take place linearly – i.e. one after the other – with sake these two processes happen simultaneously. This is quite remarkable and unique to sake brewing (to my knowledge!)
Check it out:
Now let’s have a bit more of a detailed look into the brewing method (NB – this is not intended to be an exhaustive account of how sake is made, just an overview).
The whole process can be summarised with the following flowchart:
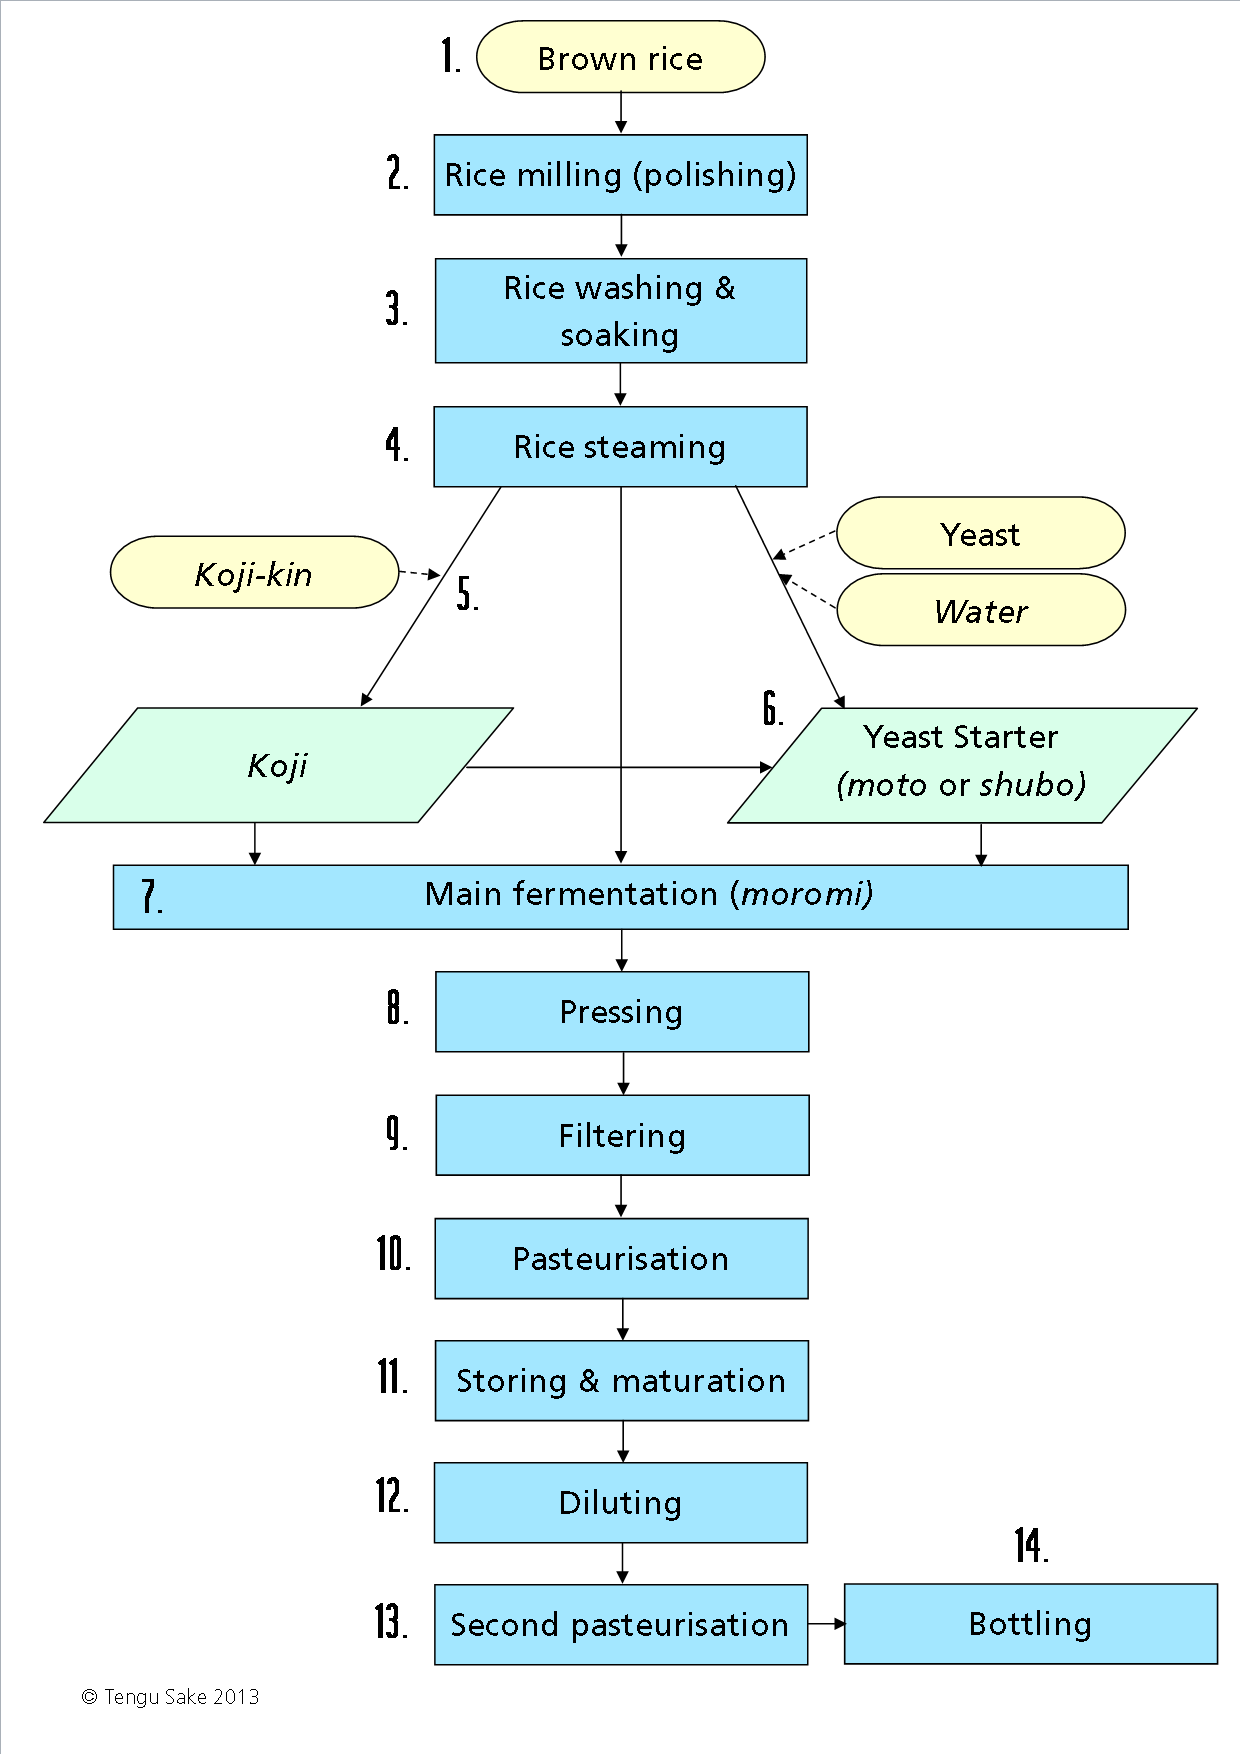
As you can see there are a lot of stages and it’s amazing the skill brewers employ in order to balance all of this! Rather than going into real detail on every stage – we willl save that for specific blog posts (have a look under the ‘brewing’ category in the blog) the following is just an outline of the stages 1 thru 14:
1. Ingredient: brown rice. The first main ingredient is, of course, rice. Premium sake (tokutei meishoushu in Japanese), i.e. everything junmai or honjozo and above, tends to use special sake rice. For futsushu, normal ‘cooking rice’ is mostly used. The rice is usually harvested in October.
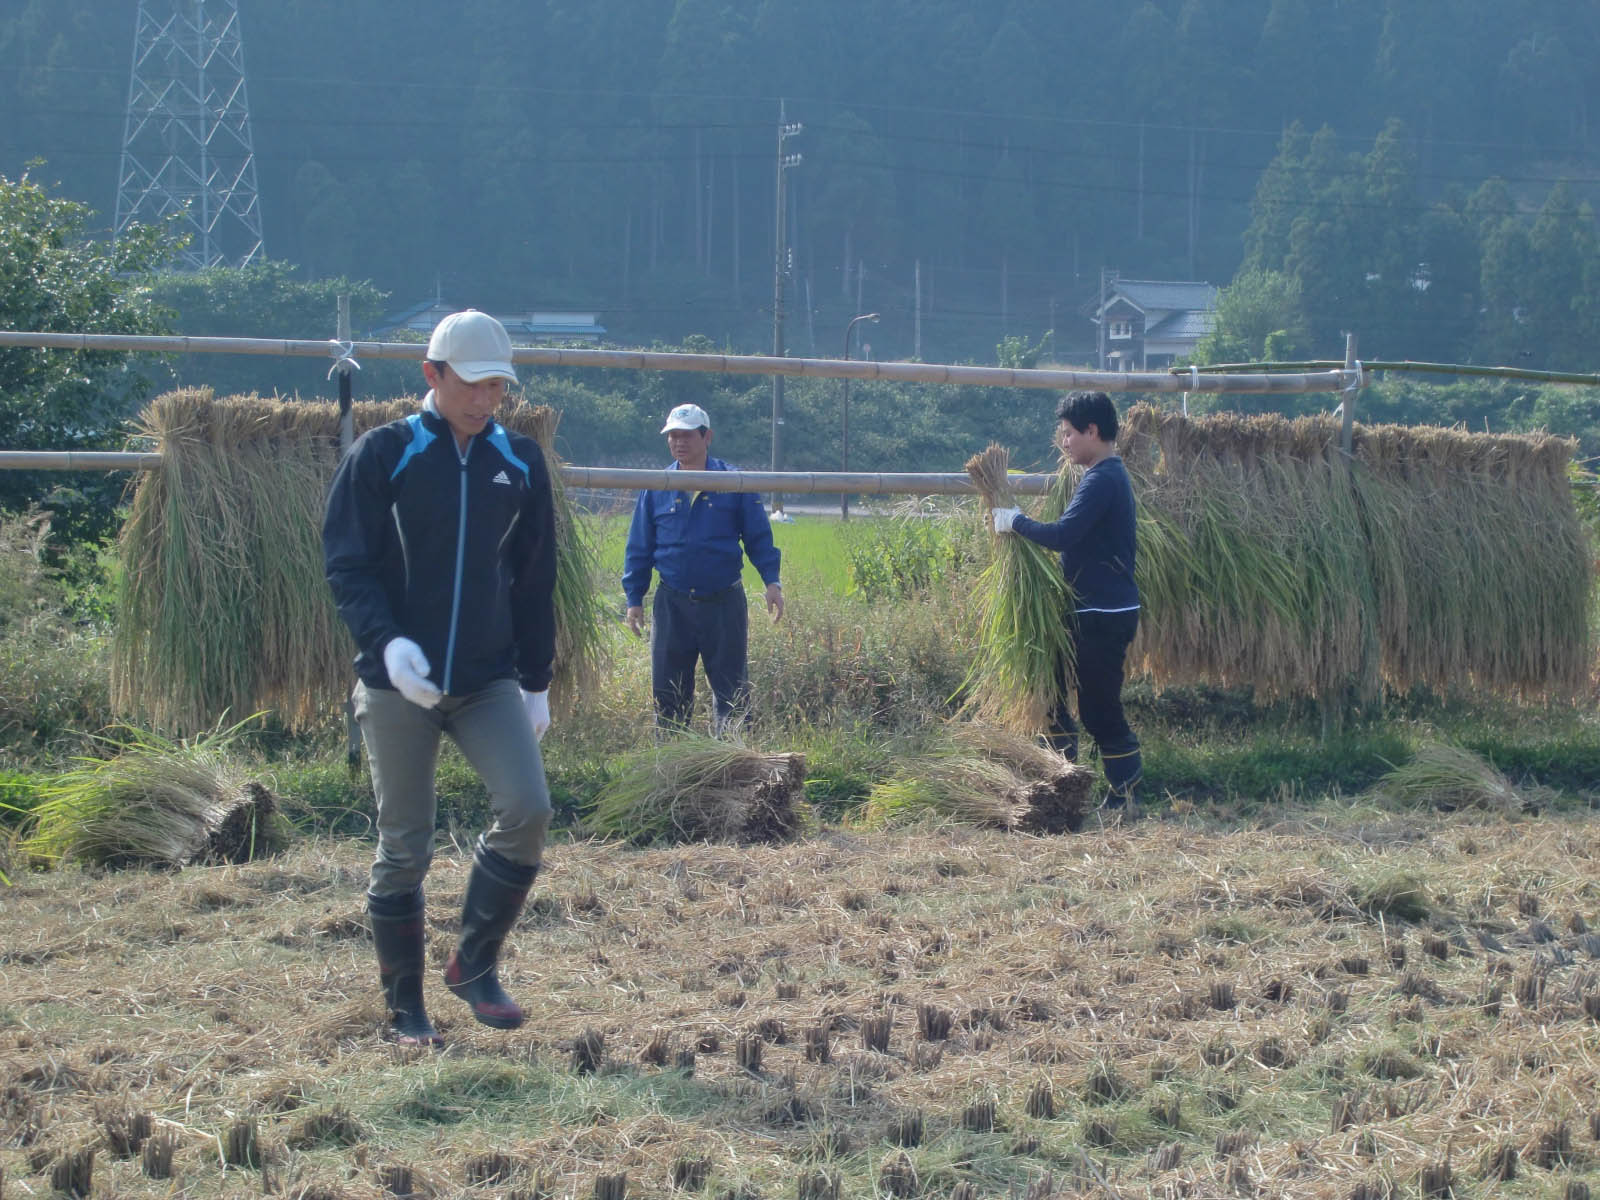
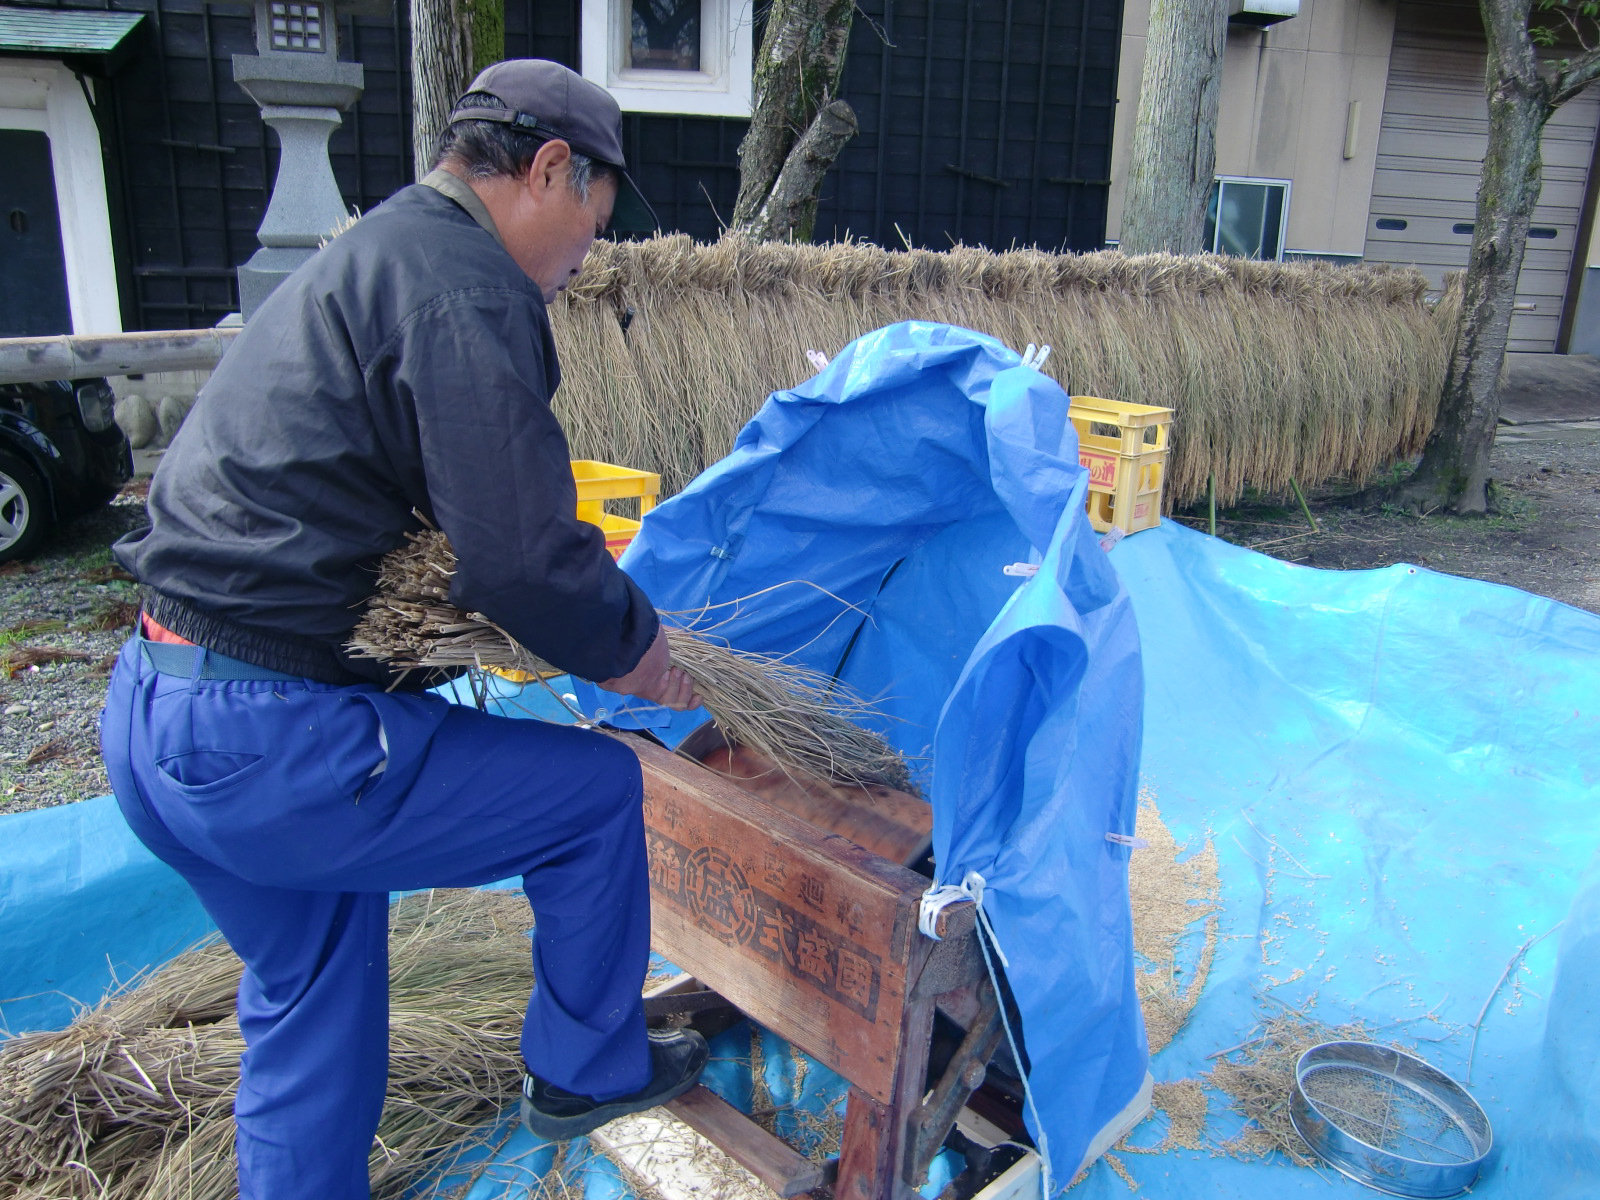
Here workers harvest the rice, hang it & then pass it through a machine to separate the grains from the stems. A big harvester can do all of this but Yoshida like to keep it traditional!
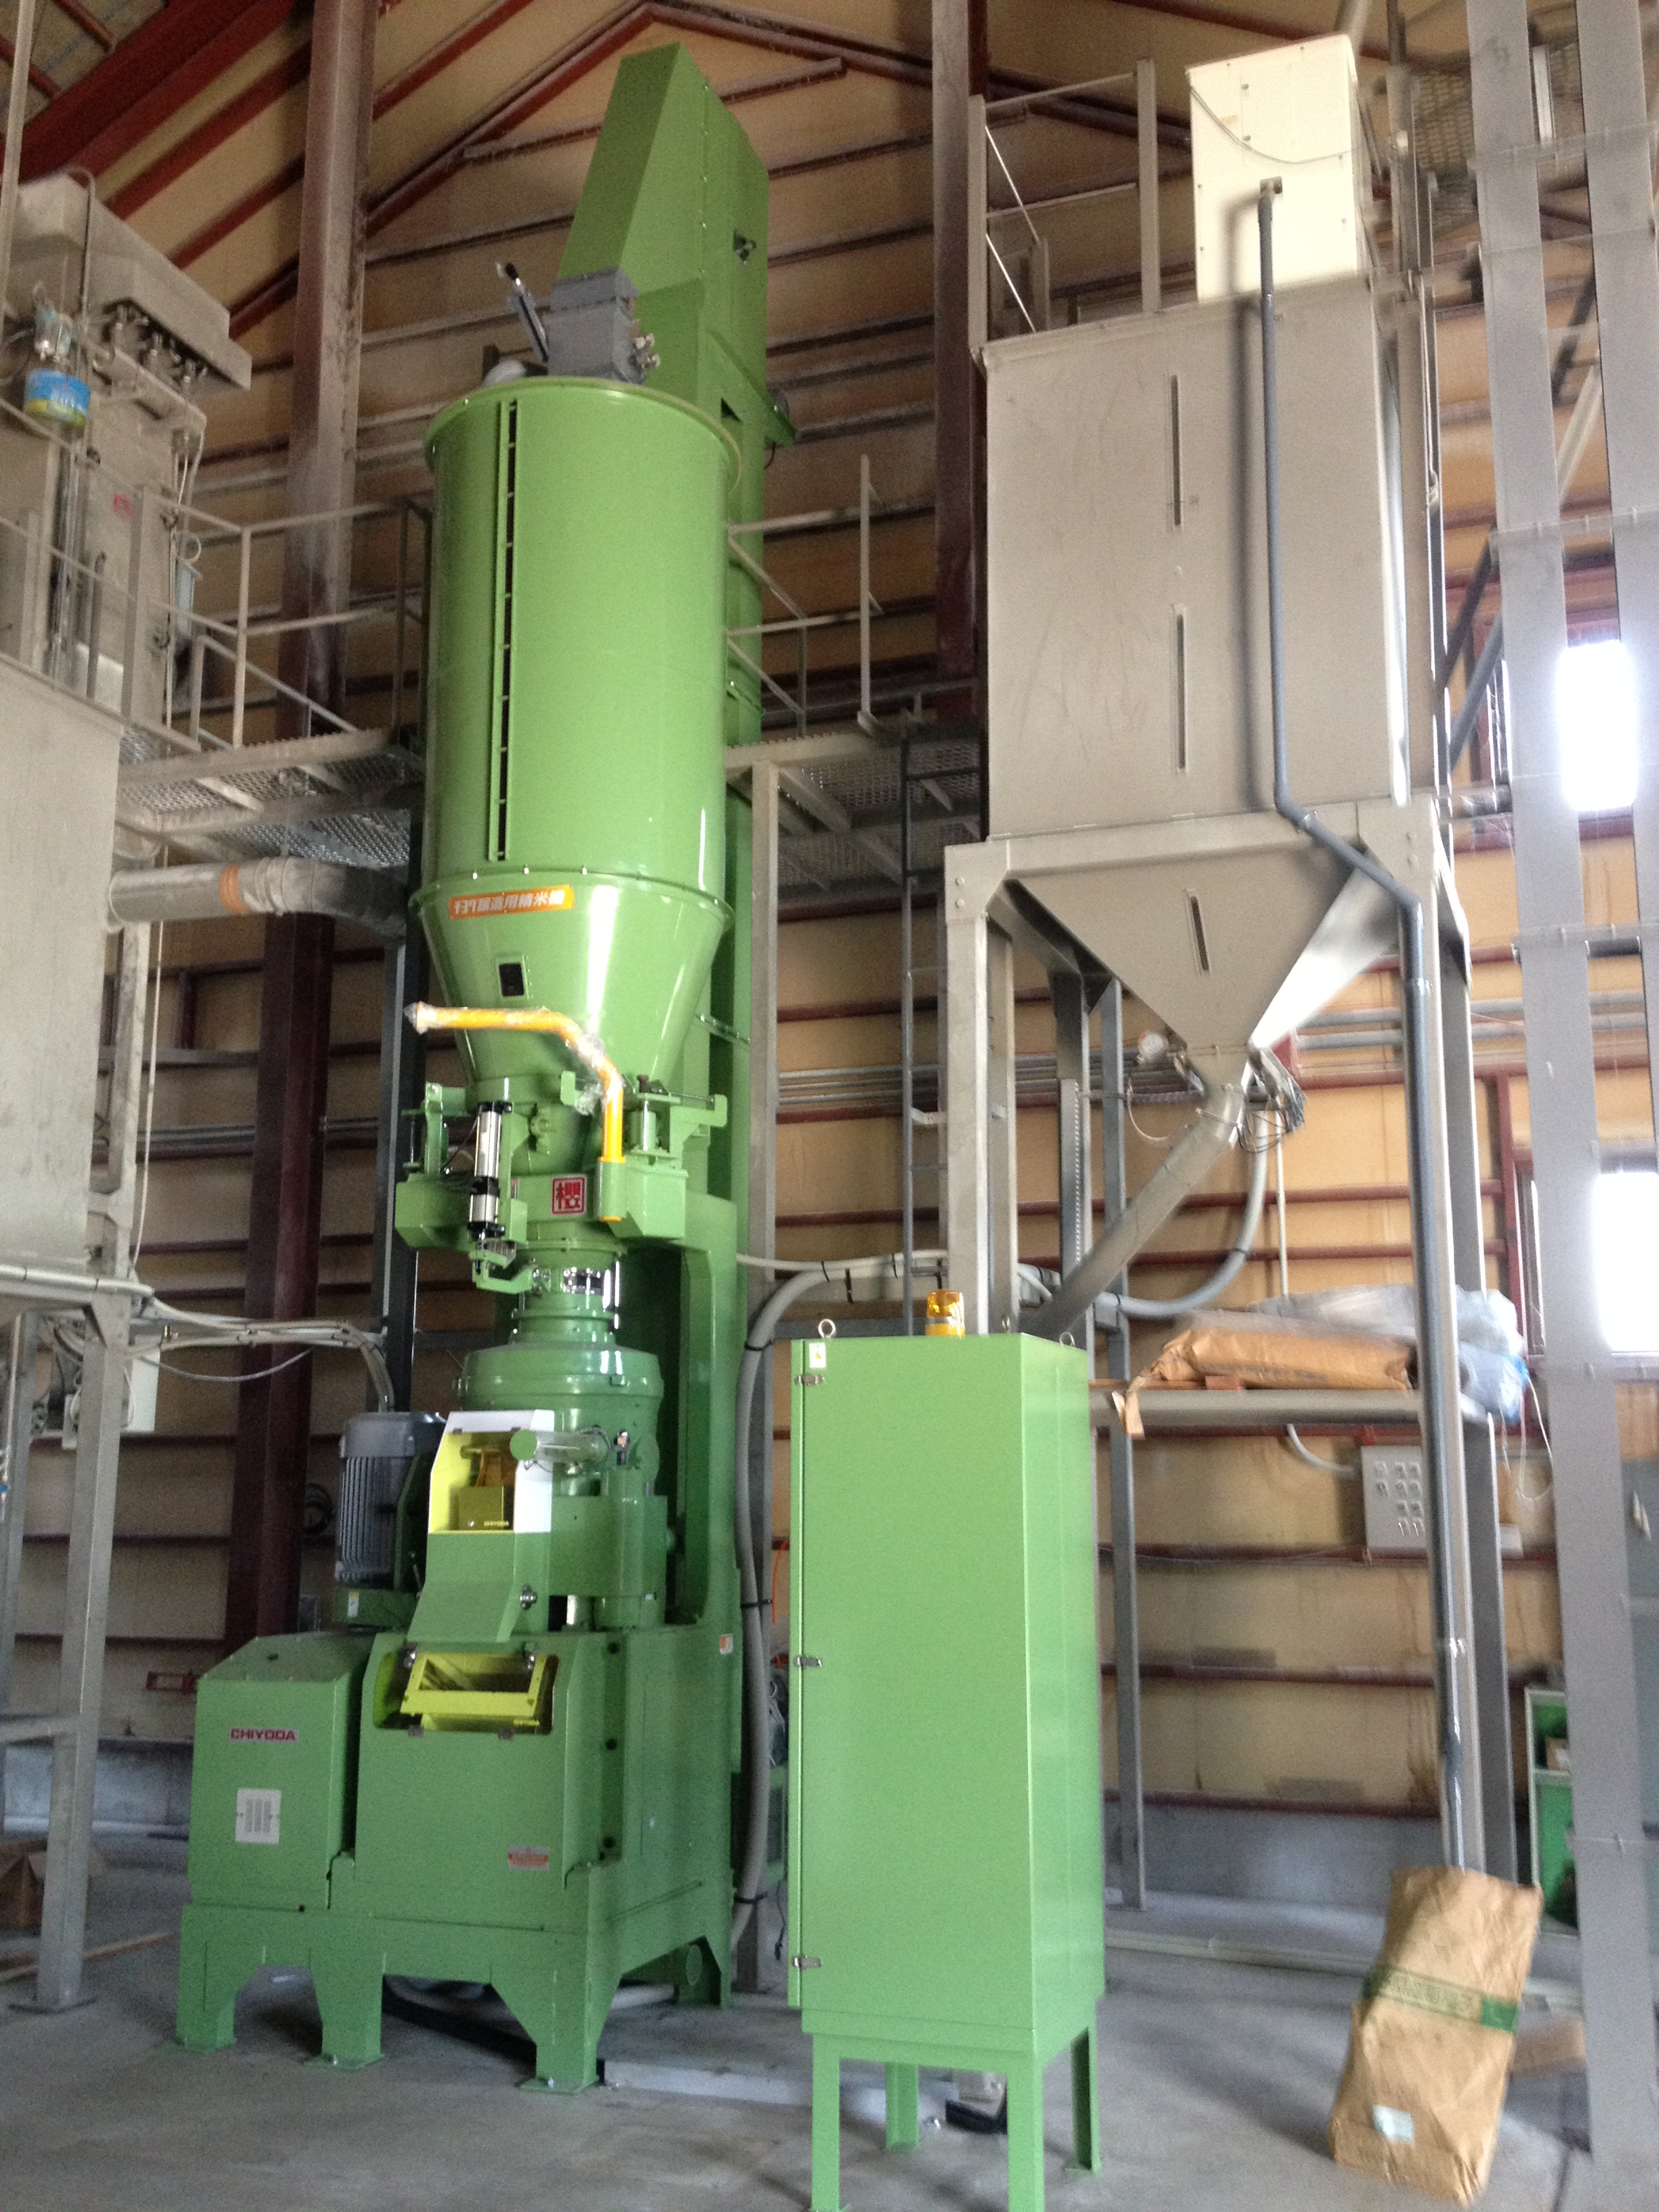
2. Rice milling (polishing). The rice is milled (for some reason the word ‘polished’ has been adopted by the sake community) to the desired level for the type of sake, typically between 30%-65% is removed (remind yourself of the sake designations). Sake rice is bred so that starch is concentrated in the centre of the grain. Milling off the outside where vitamins, lipids, ashes, minerals, etc. are located gives a cleaner, more fragrant brew (ginjo and daiginjo).
These milling machines are extremely expensive! They have to be able to mill the rice down to the desired level without cracking or overheating the grain. They do this by chipping away a little bit of the outside of the grain each time is passes through. They weigh the rice at the beginning and at the end, the difference in weight gives you your polishing %.
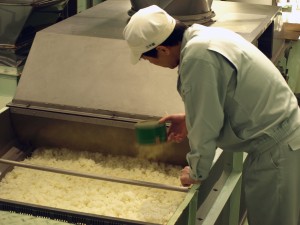
3. Rice washing a soaking. During milling, moisture will have been driven from the rice due to the high temperatures. Before washing and soaking it will therefore be left for about two weeks to cool and reabsorb moisture from the atmosphere. After this resting period, the rice is washed to remove any dust and then soaked to get it to about 30% water content.
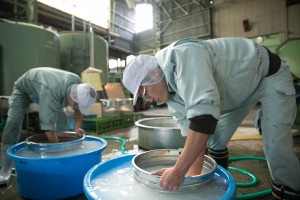

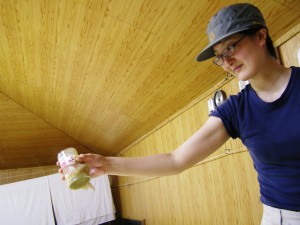
The timing of these steps is critical. In the right-hand picture you can see Fujita-san timing the process with a stopwatch!
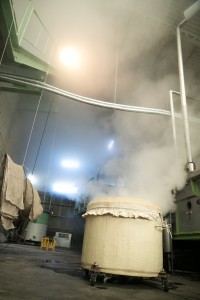
4. Rice Steaming. Again, this is a highly delicate process as it is extremely important not to over-cook or under-cook the rice. Getting it wrong will cause problems later on down the line as the rice with not ferment evenly. Rice is quiet often steamed on a conveyor belt too.
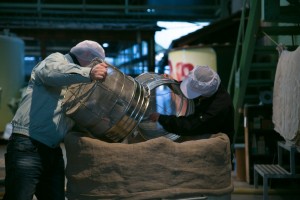
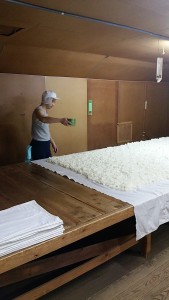
5. Making koji. Before moving onto this next step the rice must be cooled, this is done either by machine or just laid out in batches on sheets, on the floor.
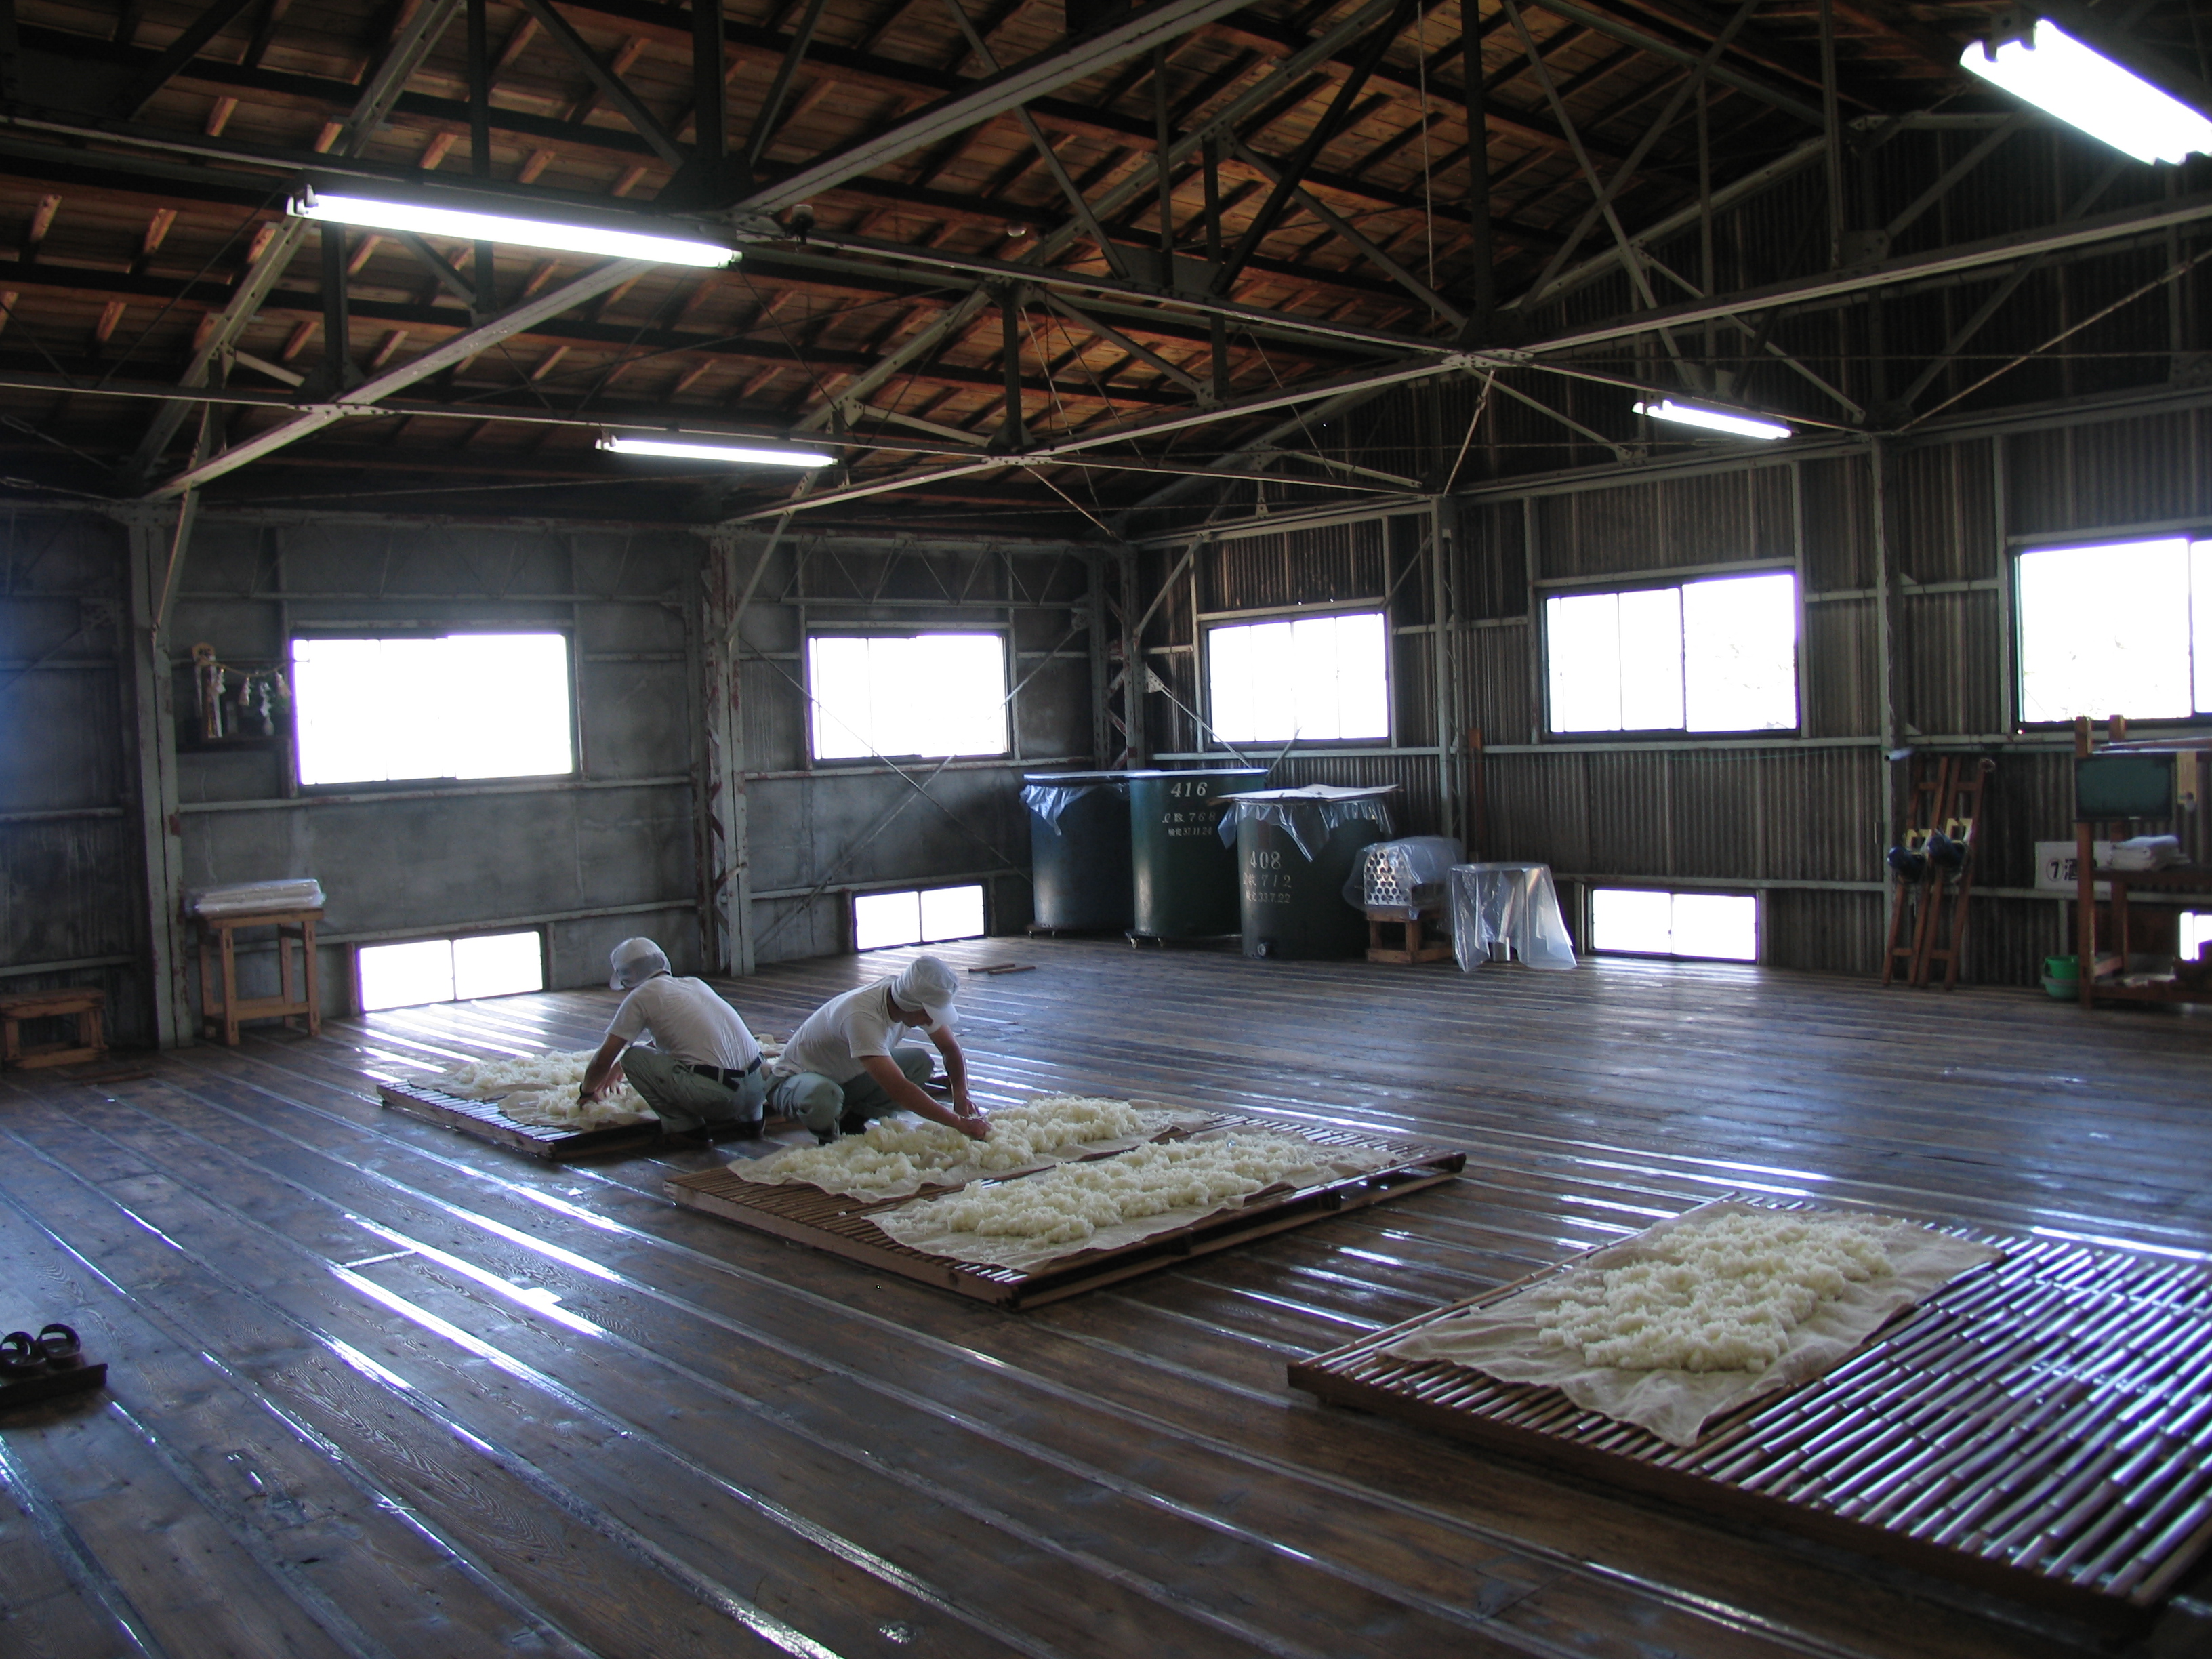
Here you see a room at Hayashi Honten where the rice is being laid out and cooled. This room is right next to the special room where they make the koji (koji muro). Once the rice has cooled sufficiently it is heaved into the koji muro ready for koji making.
Making koji is an extremely important part of the process. If you remember from the wine vs beer vs sake comparison chart above, koji-kin converts the starch in the rice into sugars ready for fermentation.
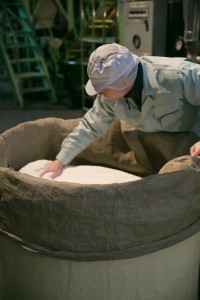
About 20% of the steamed rice is brought into the koji muro (belowis Michisakari’s) and is spread out on tables.
Next the spores (koji-kin) are delivered onto the rice. This is usually done by hand (although the process can be entirely automated).
The rice is then bundled up to keep it warm for about a day.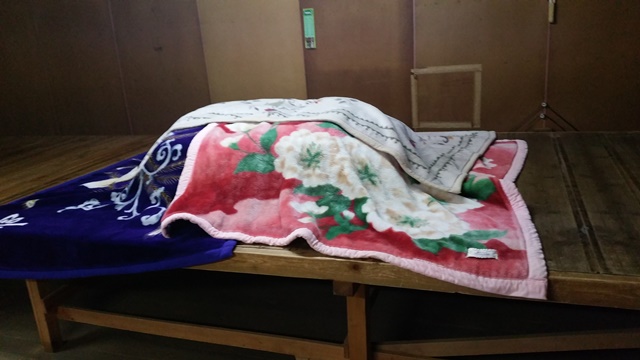
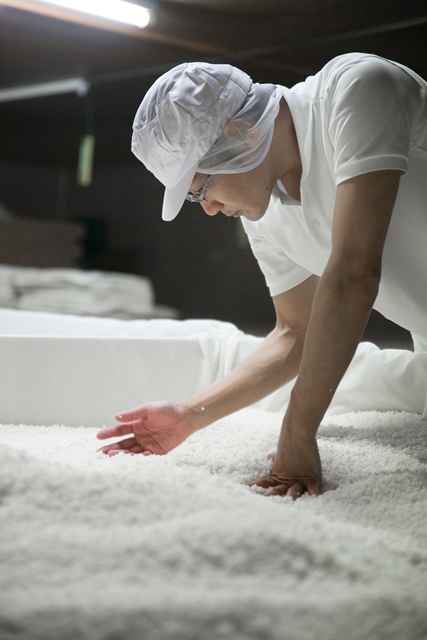
After this the koji rice is then spread out, broken up and mixed to ensure uniformity of growth of the koji-kin.This mixing needs to be done every few hours for another day before the koji is ready. For high quality sake this is almost always done by hand meaning someone has a very long shift!
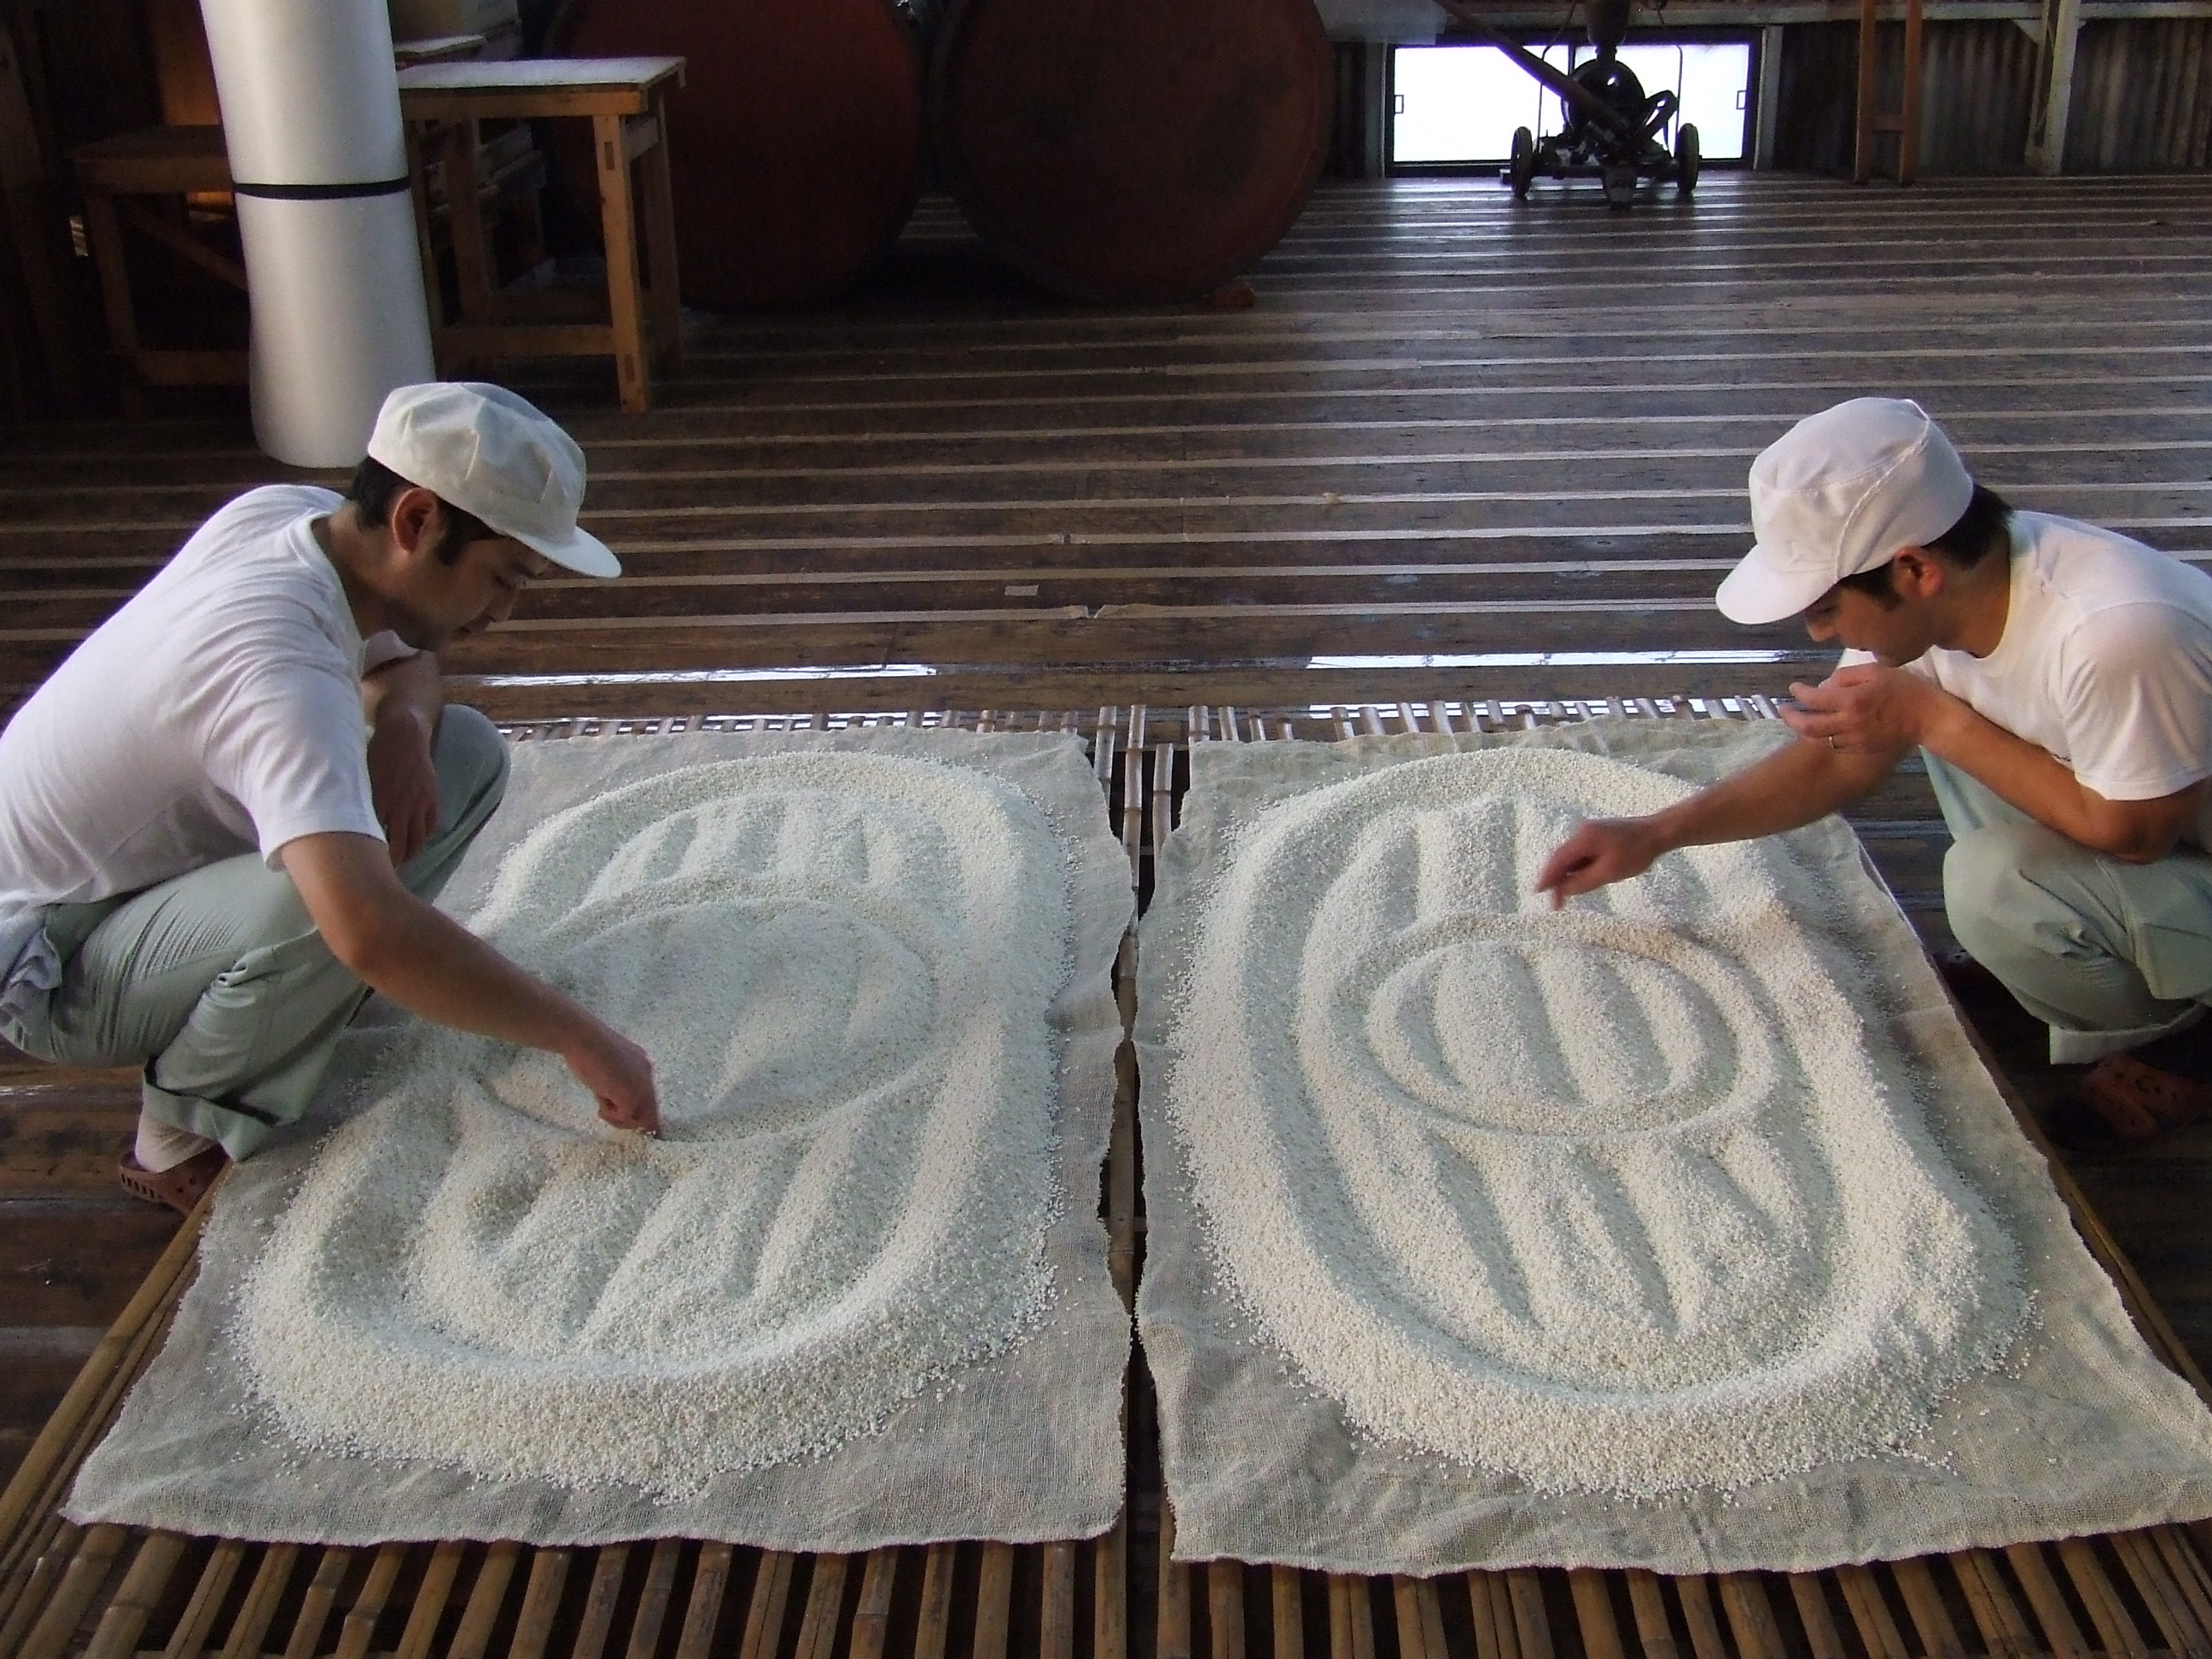
Finally, after 48 long hours, the koji is ready and is laid out again to cool, often in beautiful patterns distinct to each brewery. These patterns serve a purpose, though. They remind the workers the destination (i.e. which tank) of each of batches of Koji.
 6. Making the shubo. Think of the shubo or moto as a ‘yeast starter’ much like in sourdough making. The purpose of the shubo is essentially twofold (1) create a big enough yeast population to build to and sustain the main fermentation, and (2) control unwanted bacteria/fungus/yeasts, etc. with lactic acid. It’s a mini-reaction, a critical mass to then build into the main mash. There is a whole lot of seriously complicated chemistry going which I won’t get into here (I’ll save it for a blog post!) Furthermore, there are different techniques for making the shubo which result in different styles of sake (bodaimoto, kimoto, yamahai). This is quite specific and, again, I will save it for a later blog post; in the meantime have a look at our other styles of sake post for a basic understanding what the Kimoto, Yamahai, and Bodaimoto types are.
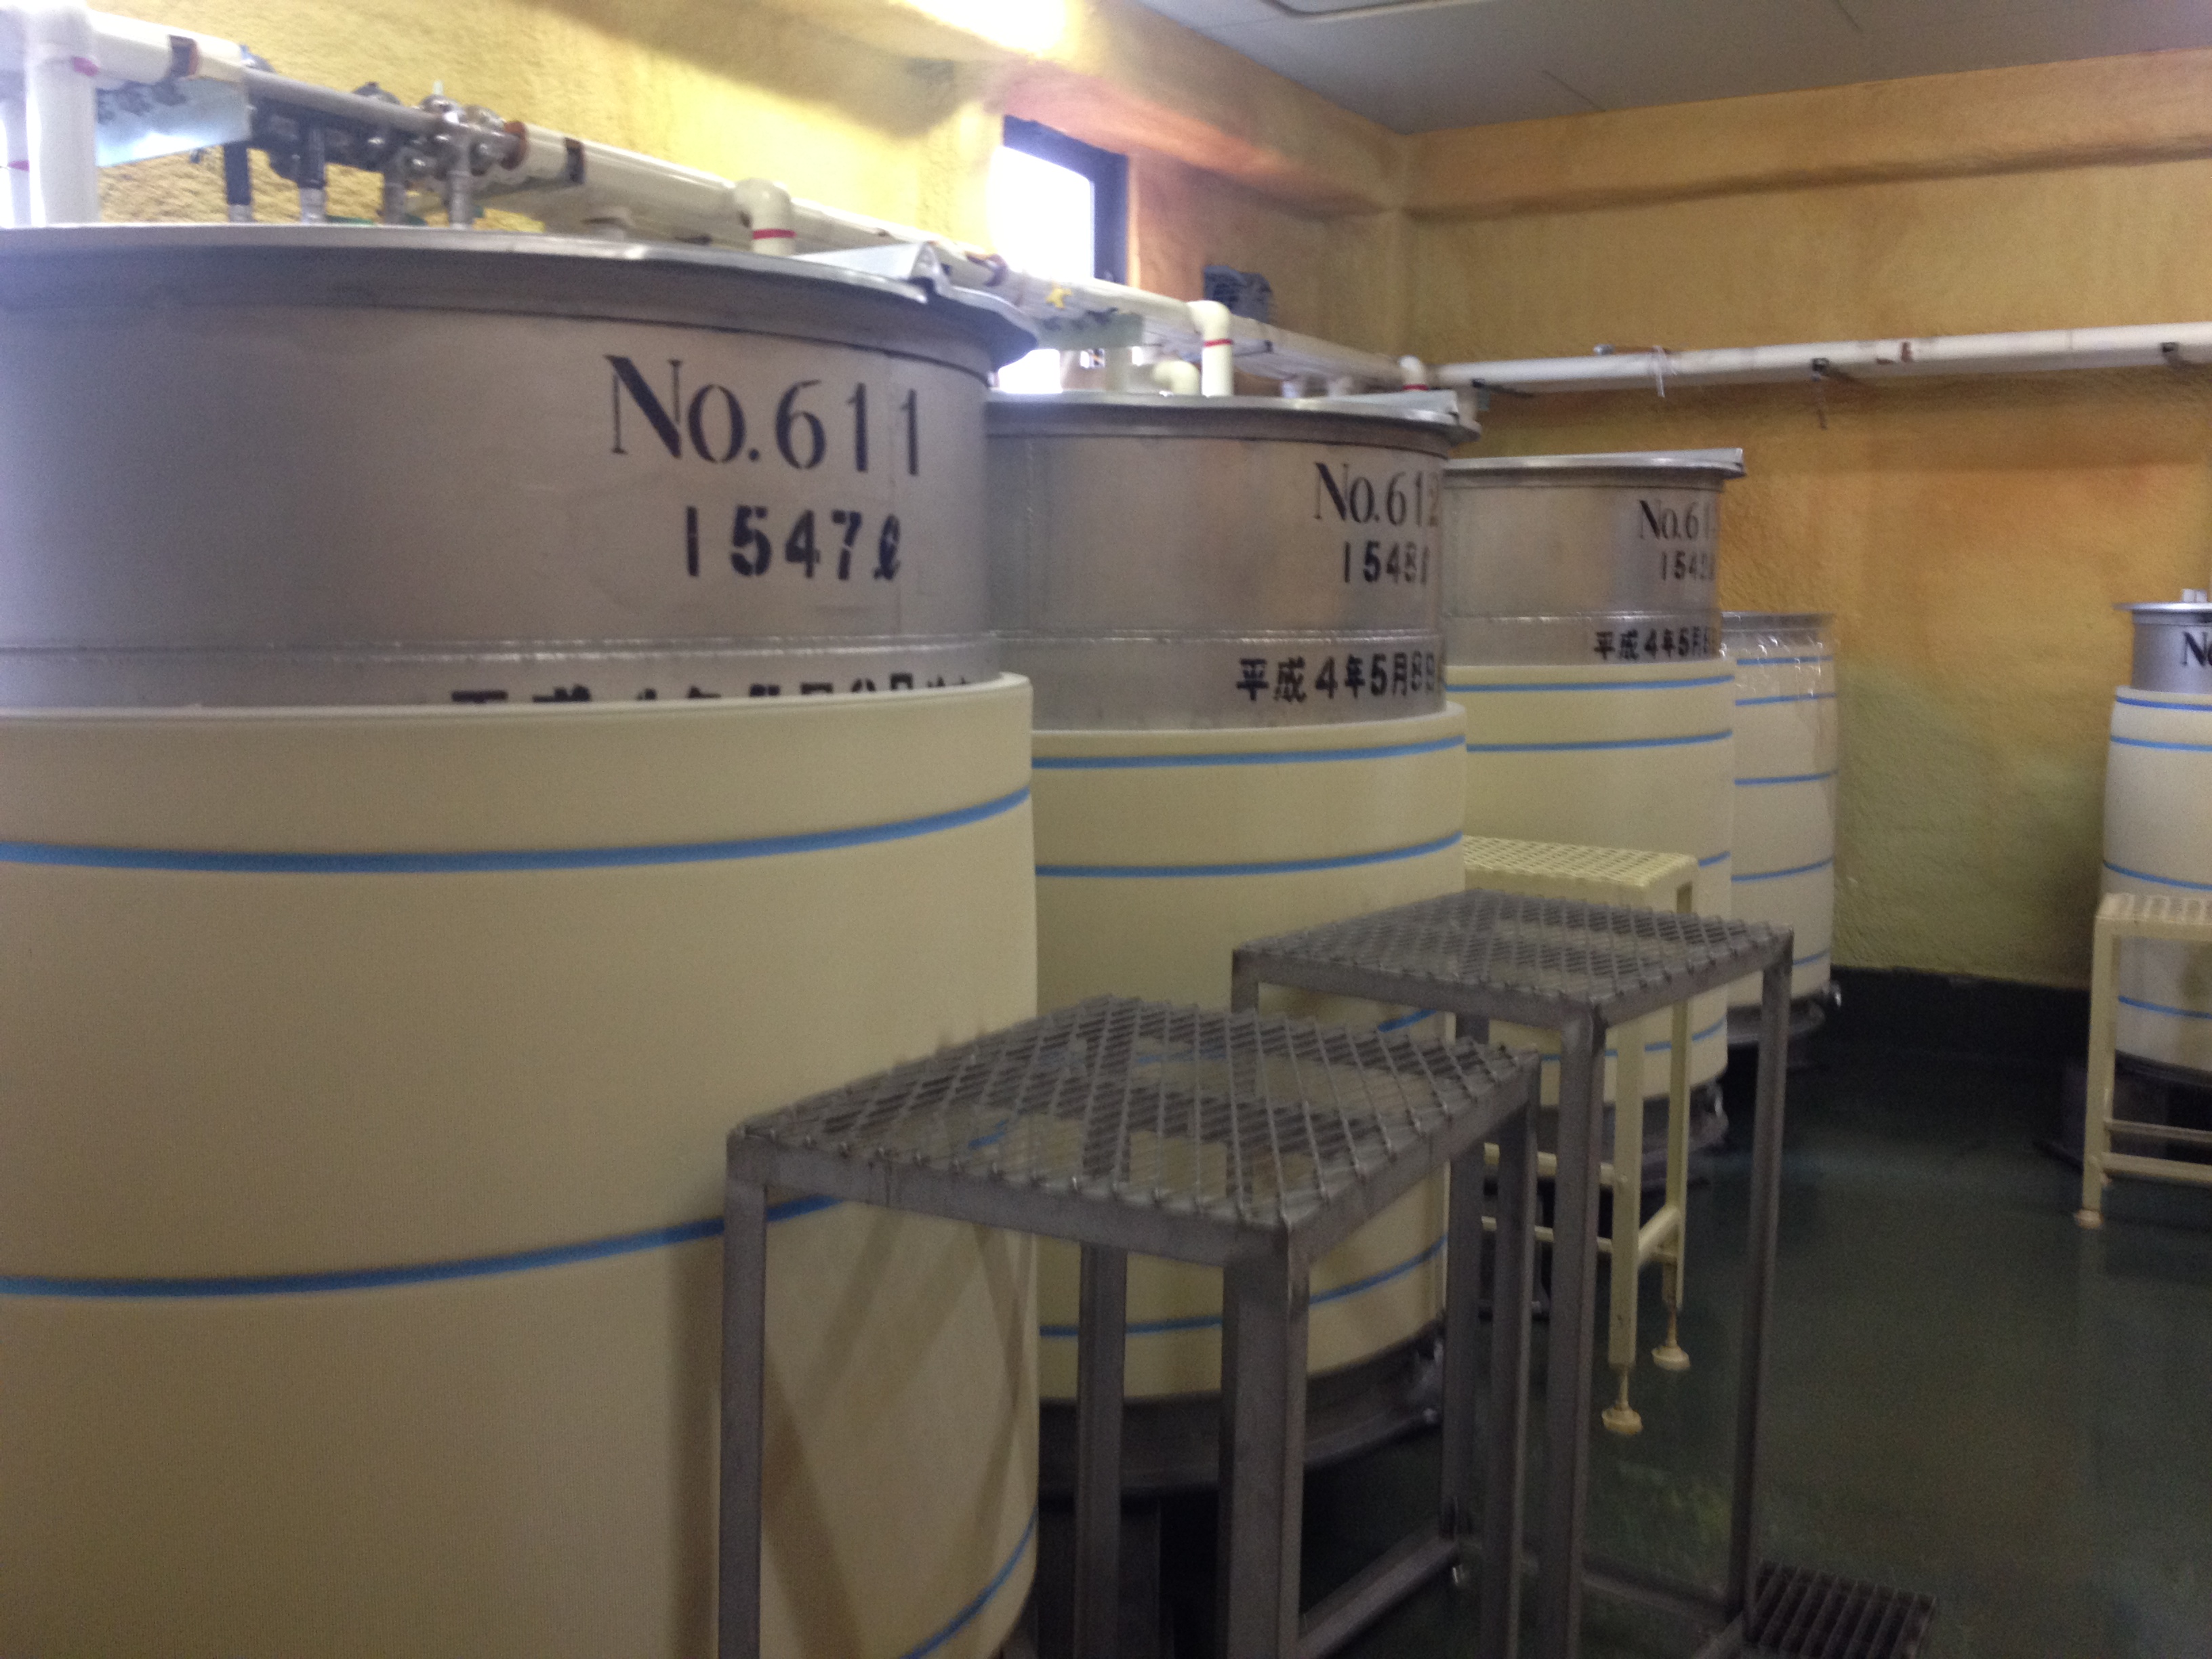
Into these small tanks goes the freshly made koji, plenty of water, more steamed rice, yeast and – depending on the shubo method – possibly lactic acid.
The shubo takes about two weeks before it is ready (i.e. there is a high enough concentration of yeast cells).
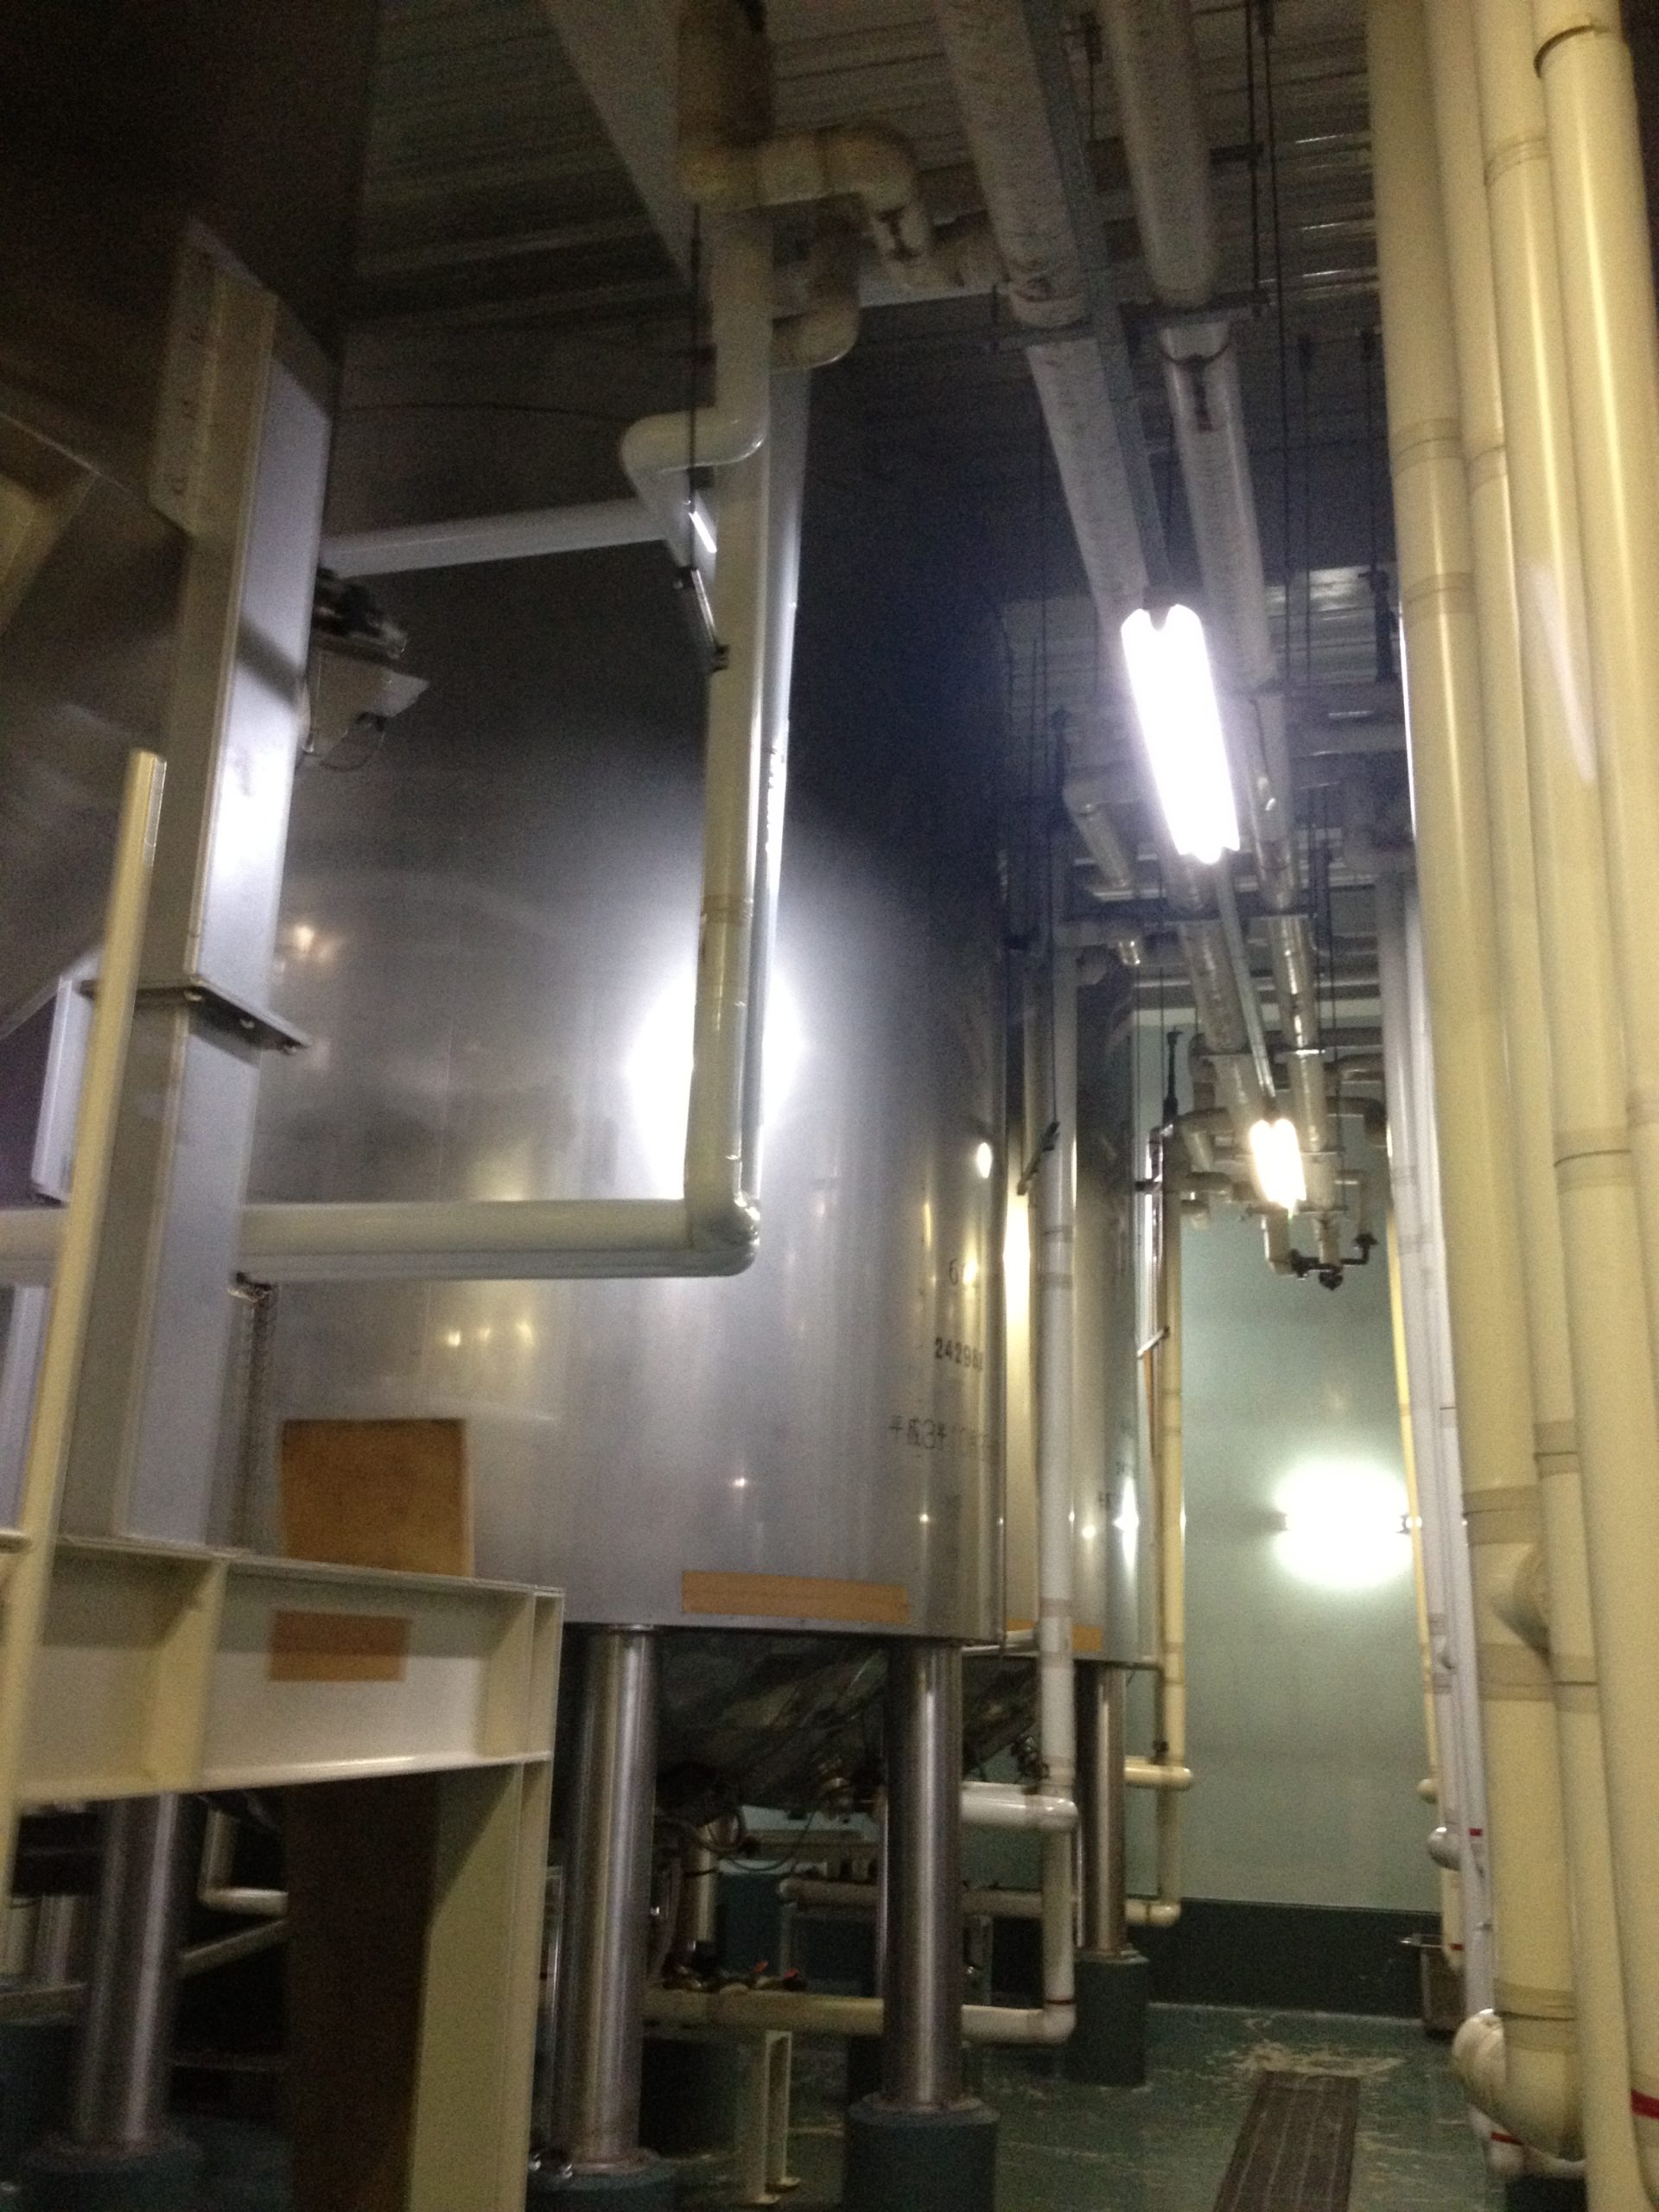
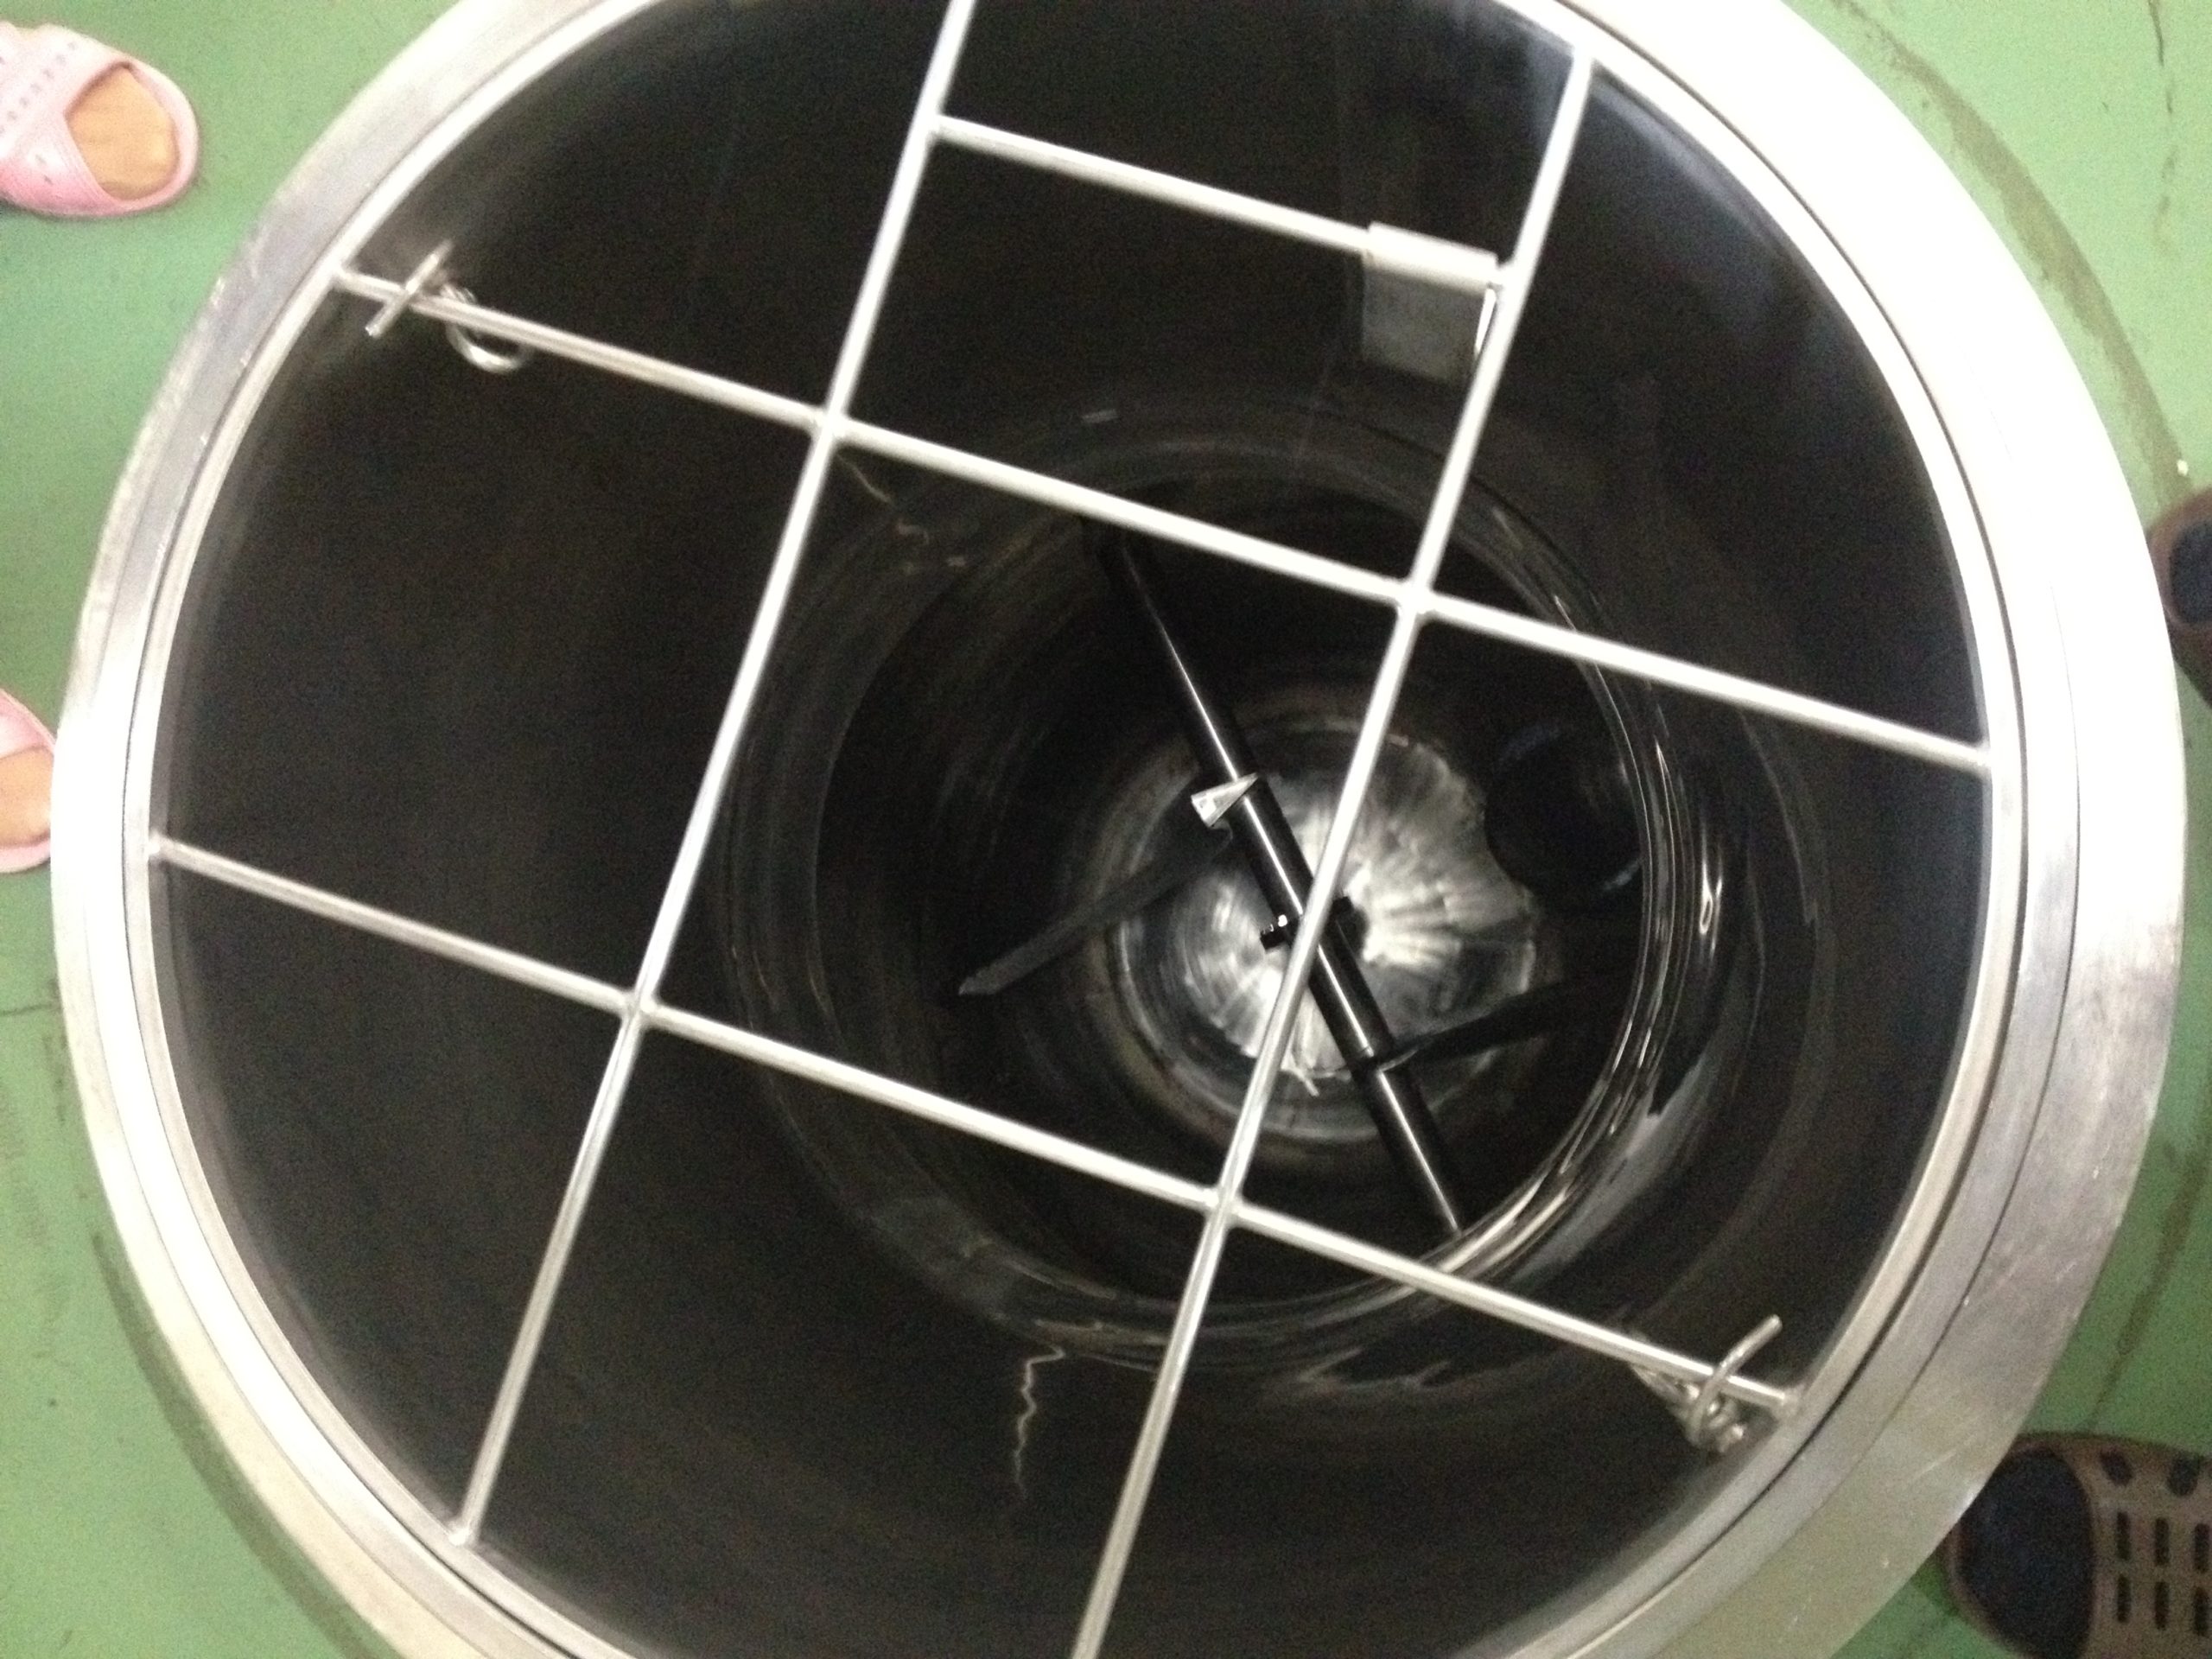
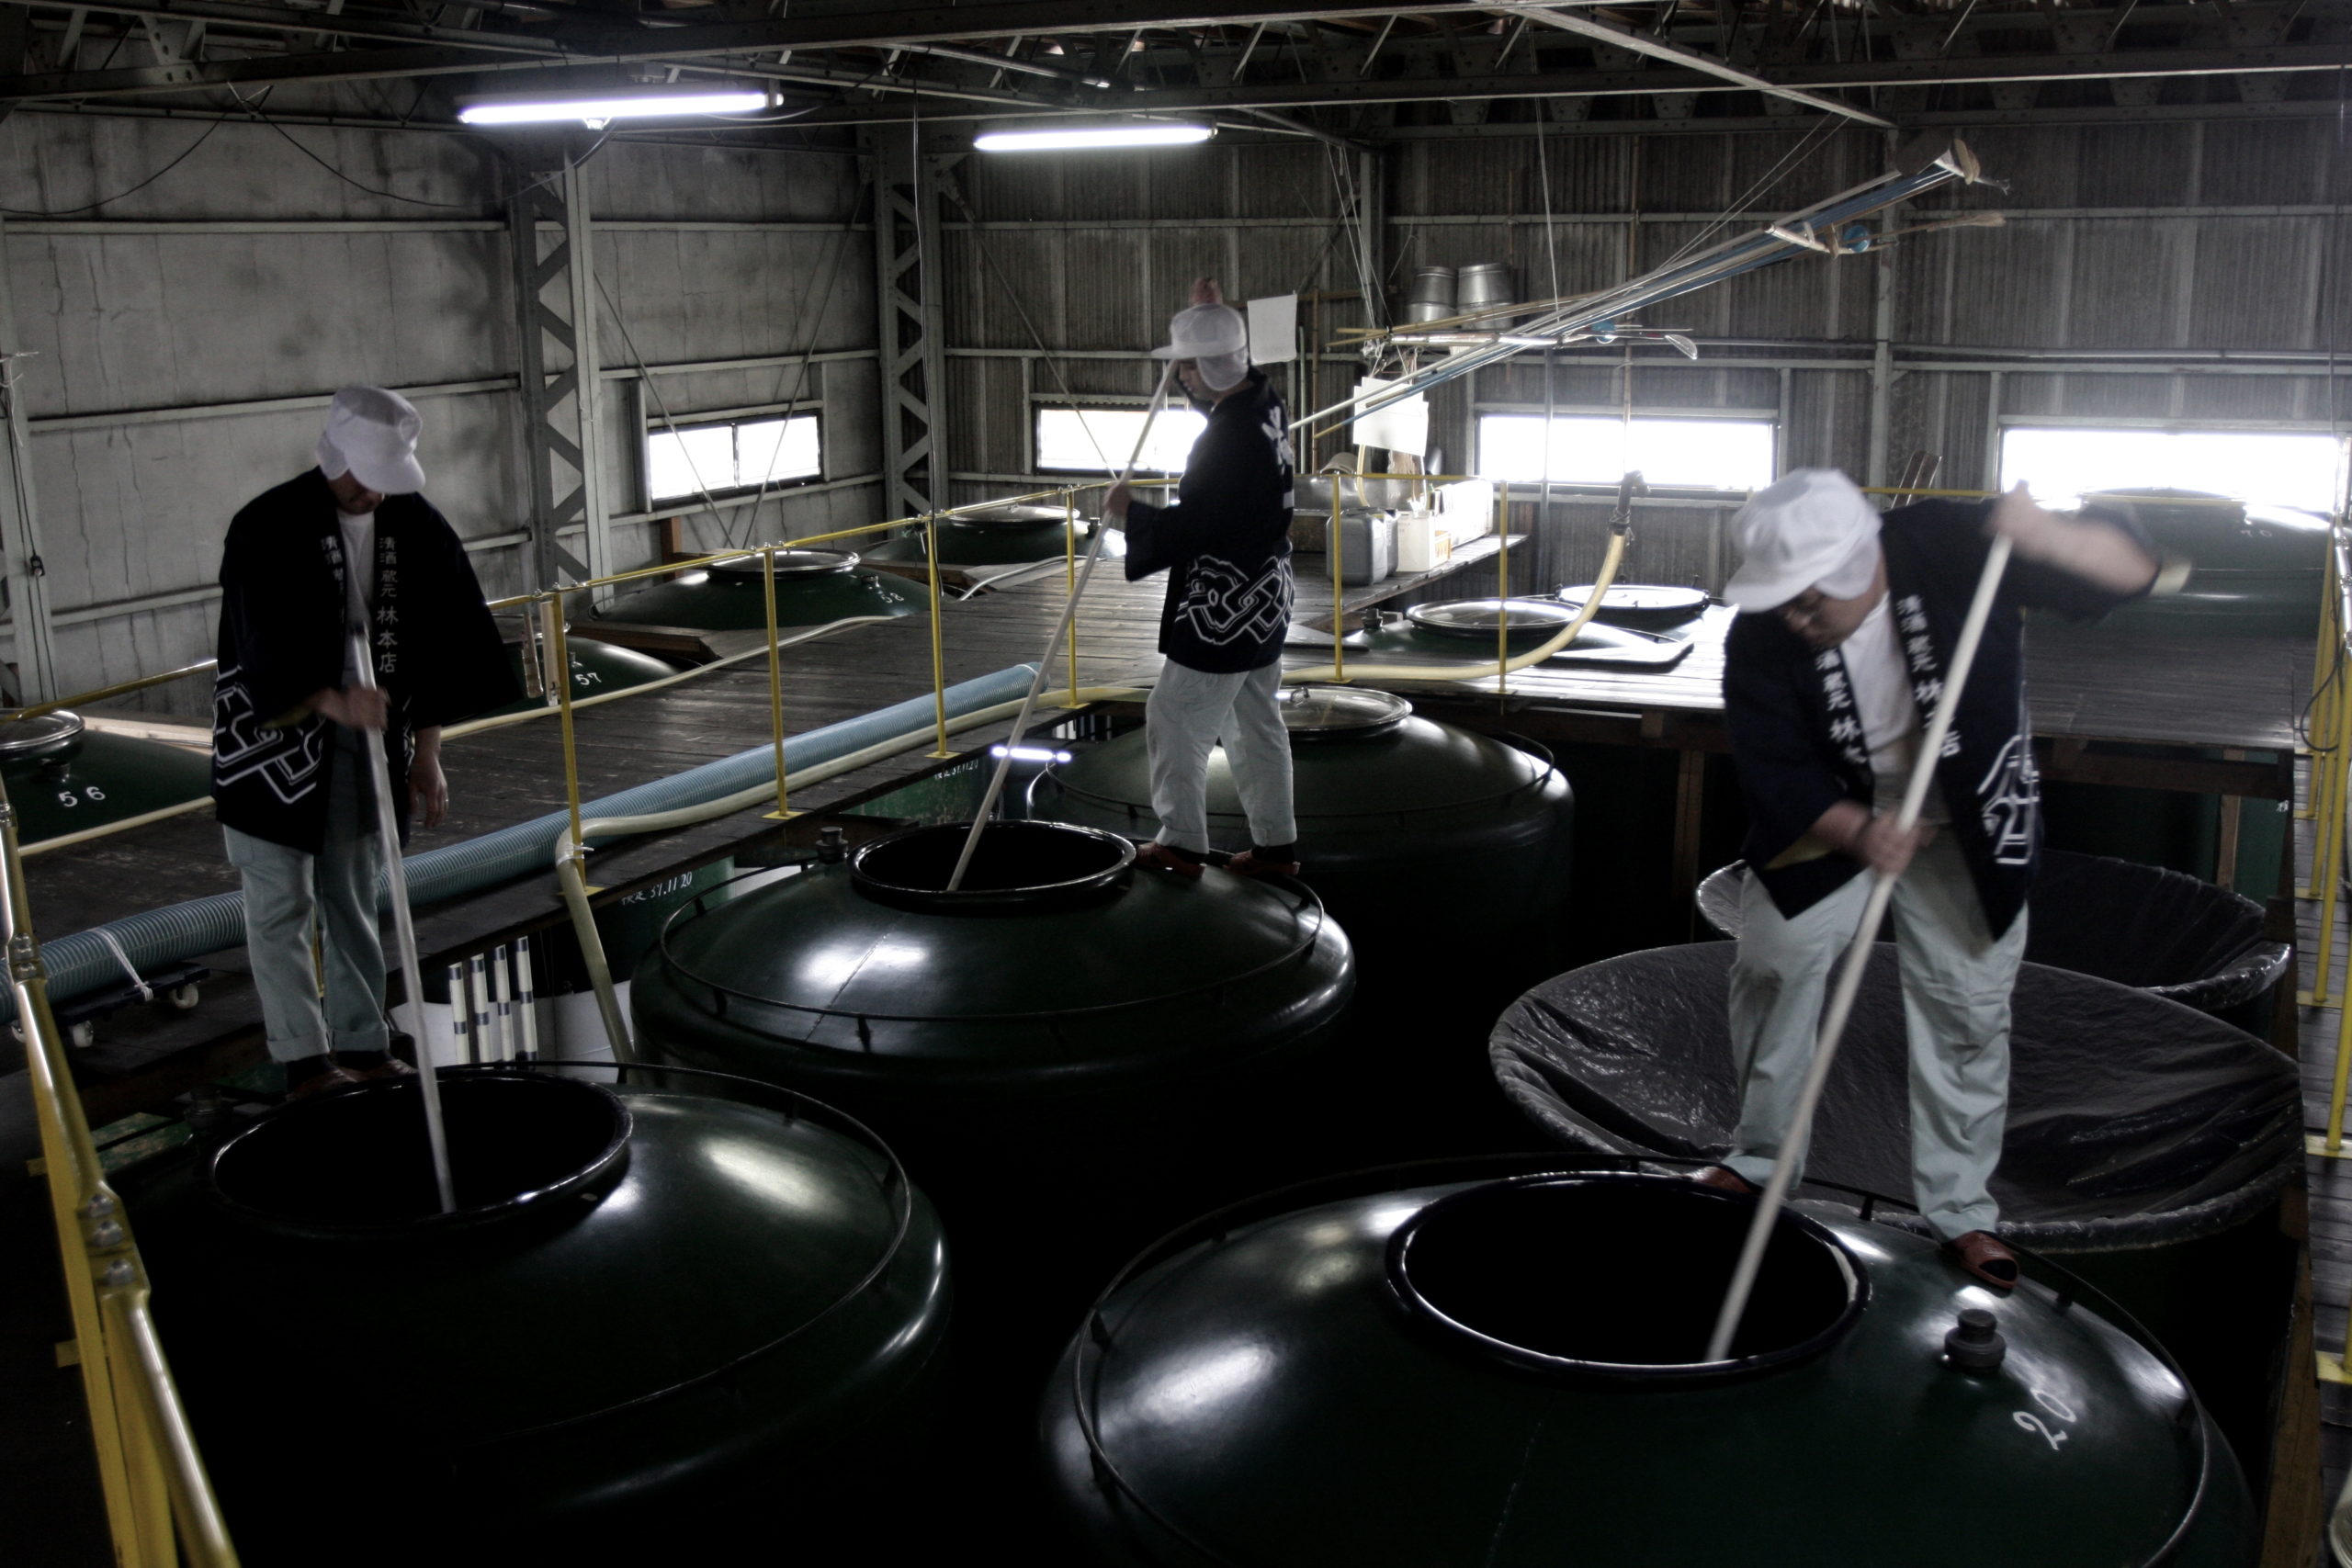
7. Main fermentation (moromi). After the shubo is complete it is moved to a much larger tank and, over the next four days, more water, koji and rice are added in three stages, building the smaller starter – shubo – into the bigger, main fermentation: moromi; this process is called san dan shikomi. After these additions moromi takes about 20-40 days depending on the type of sake you’re making.
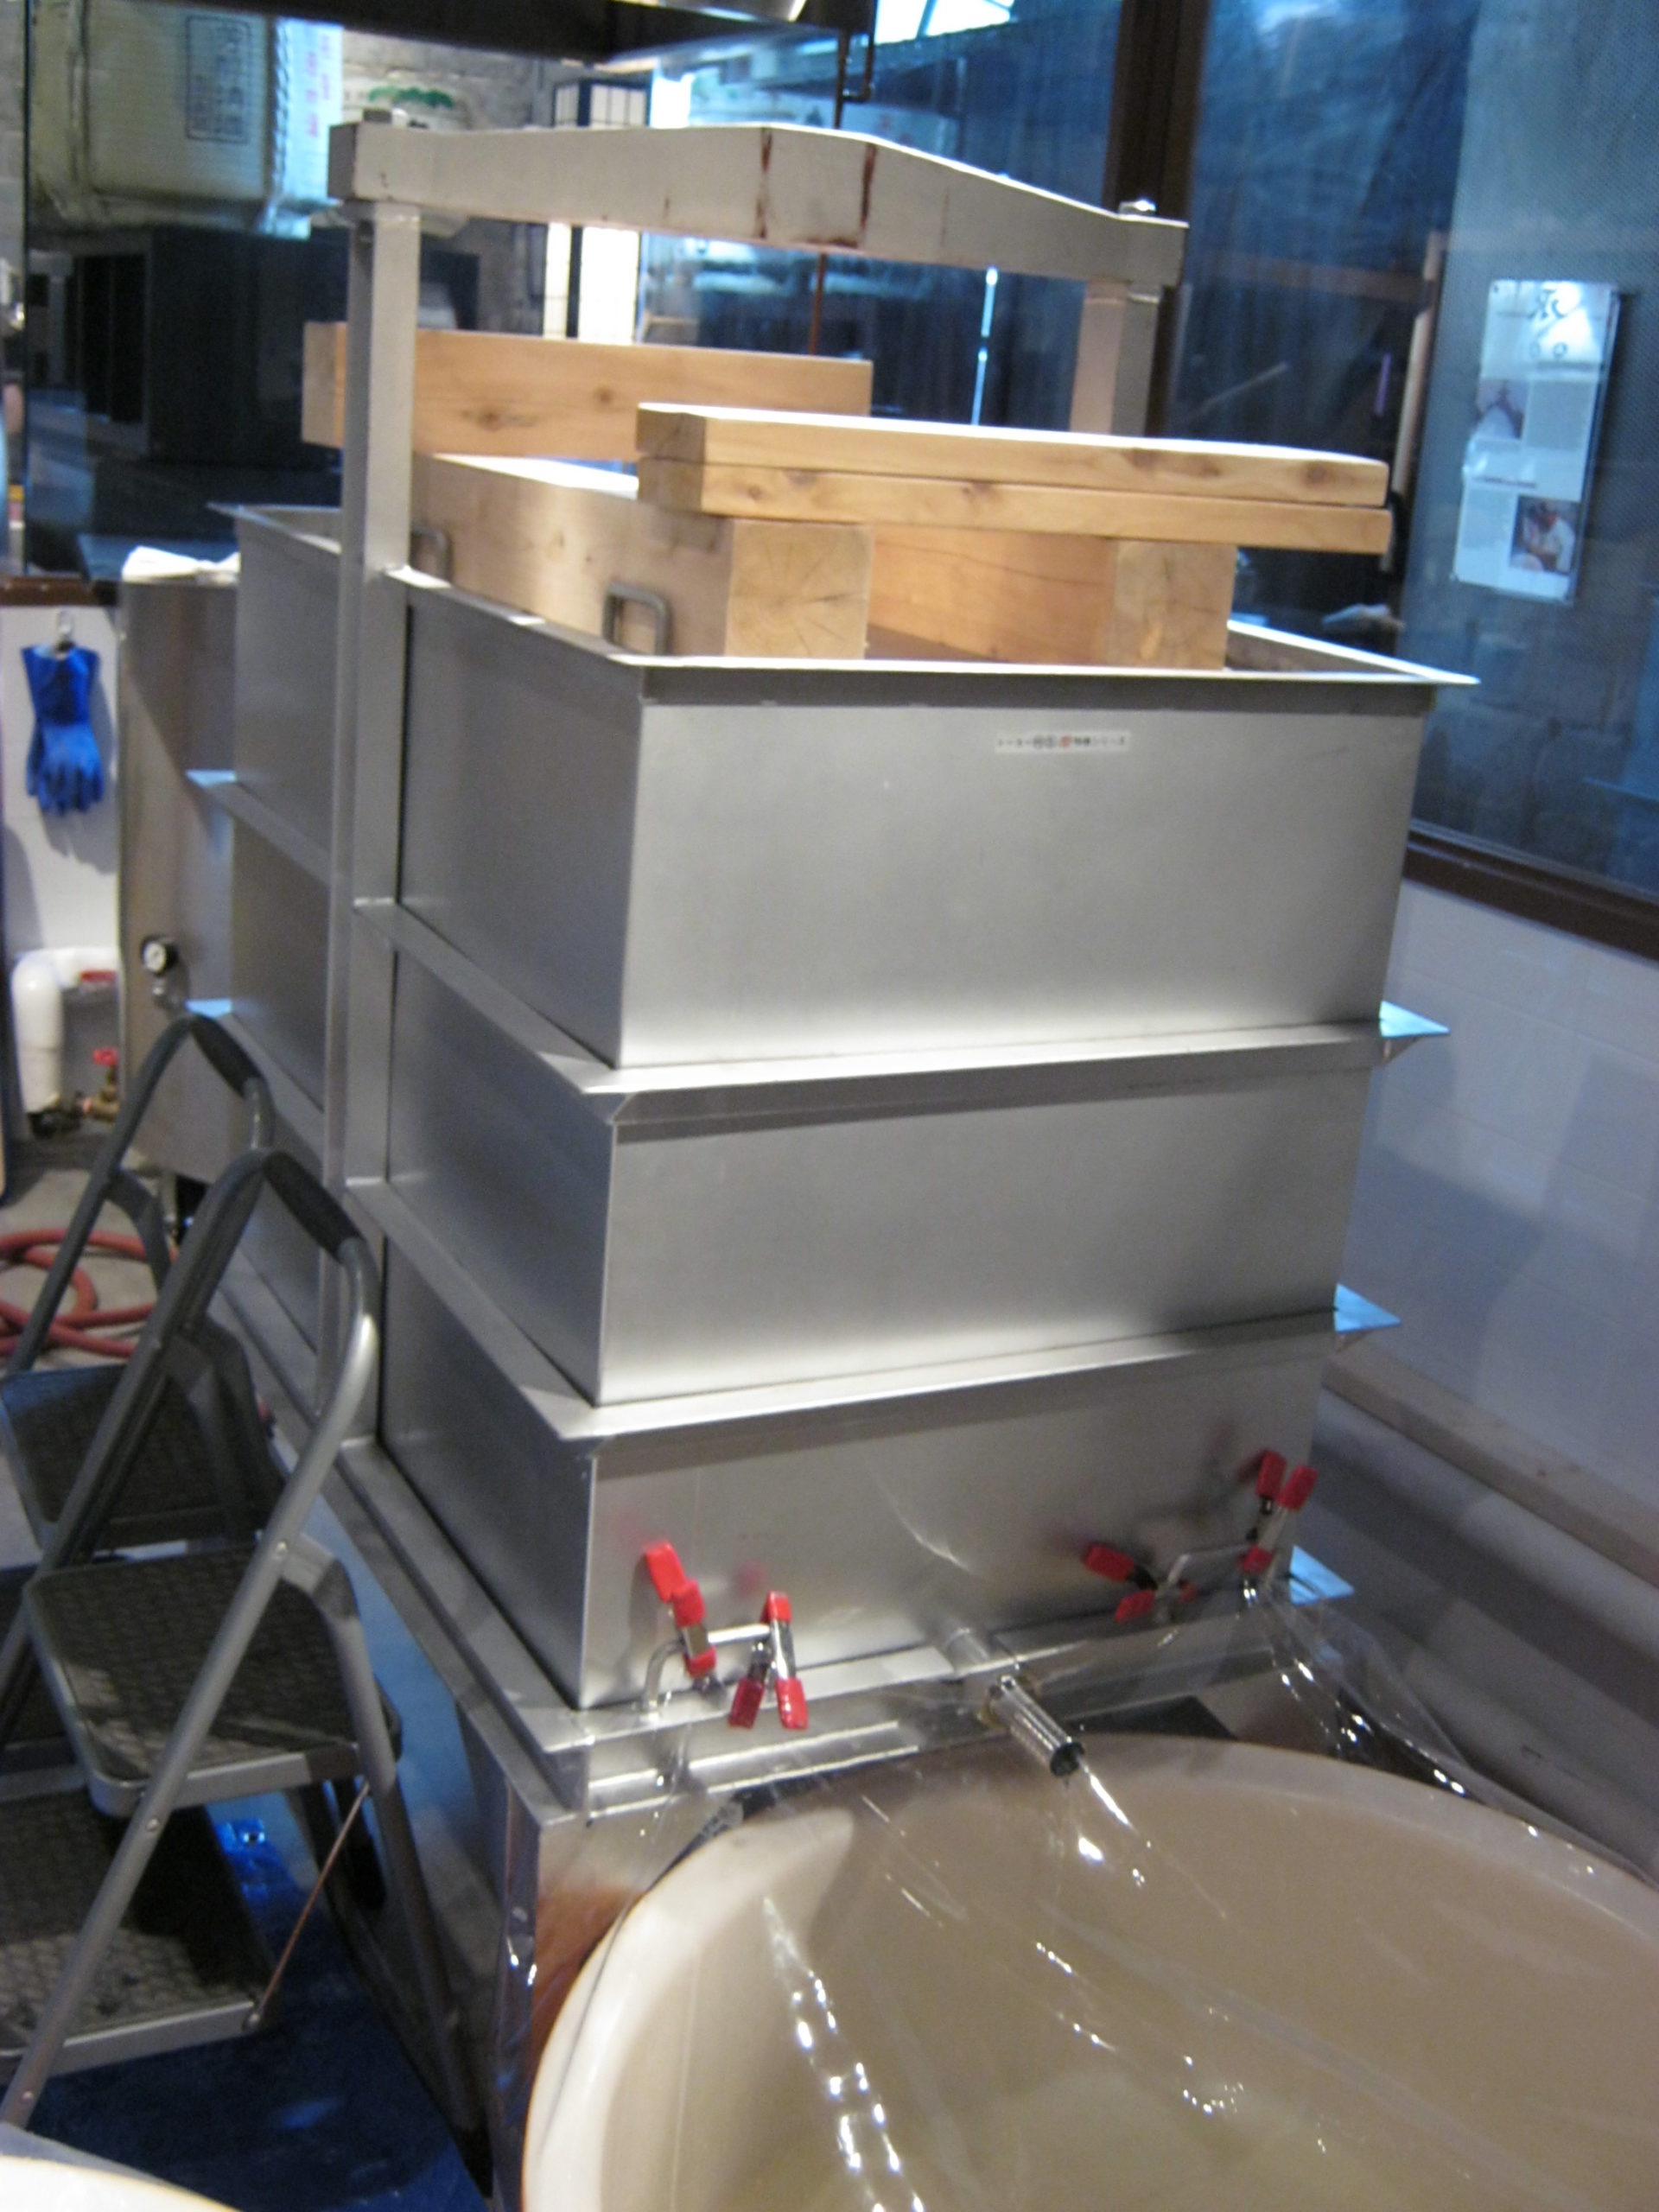
8. Pressing. The process of pressing separates the liquid from the lees of the rice, i.e. gets rid of all the rice particulate that is making the sake cloudy. Tinkering with this process that gives nigorizake or cloudy sake.
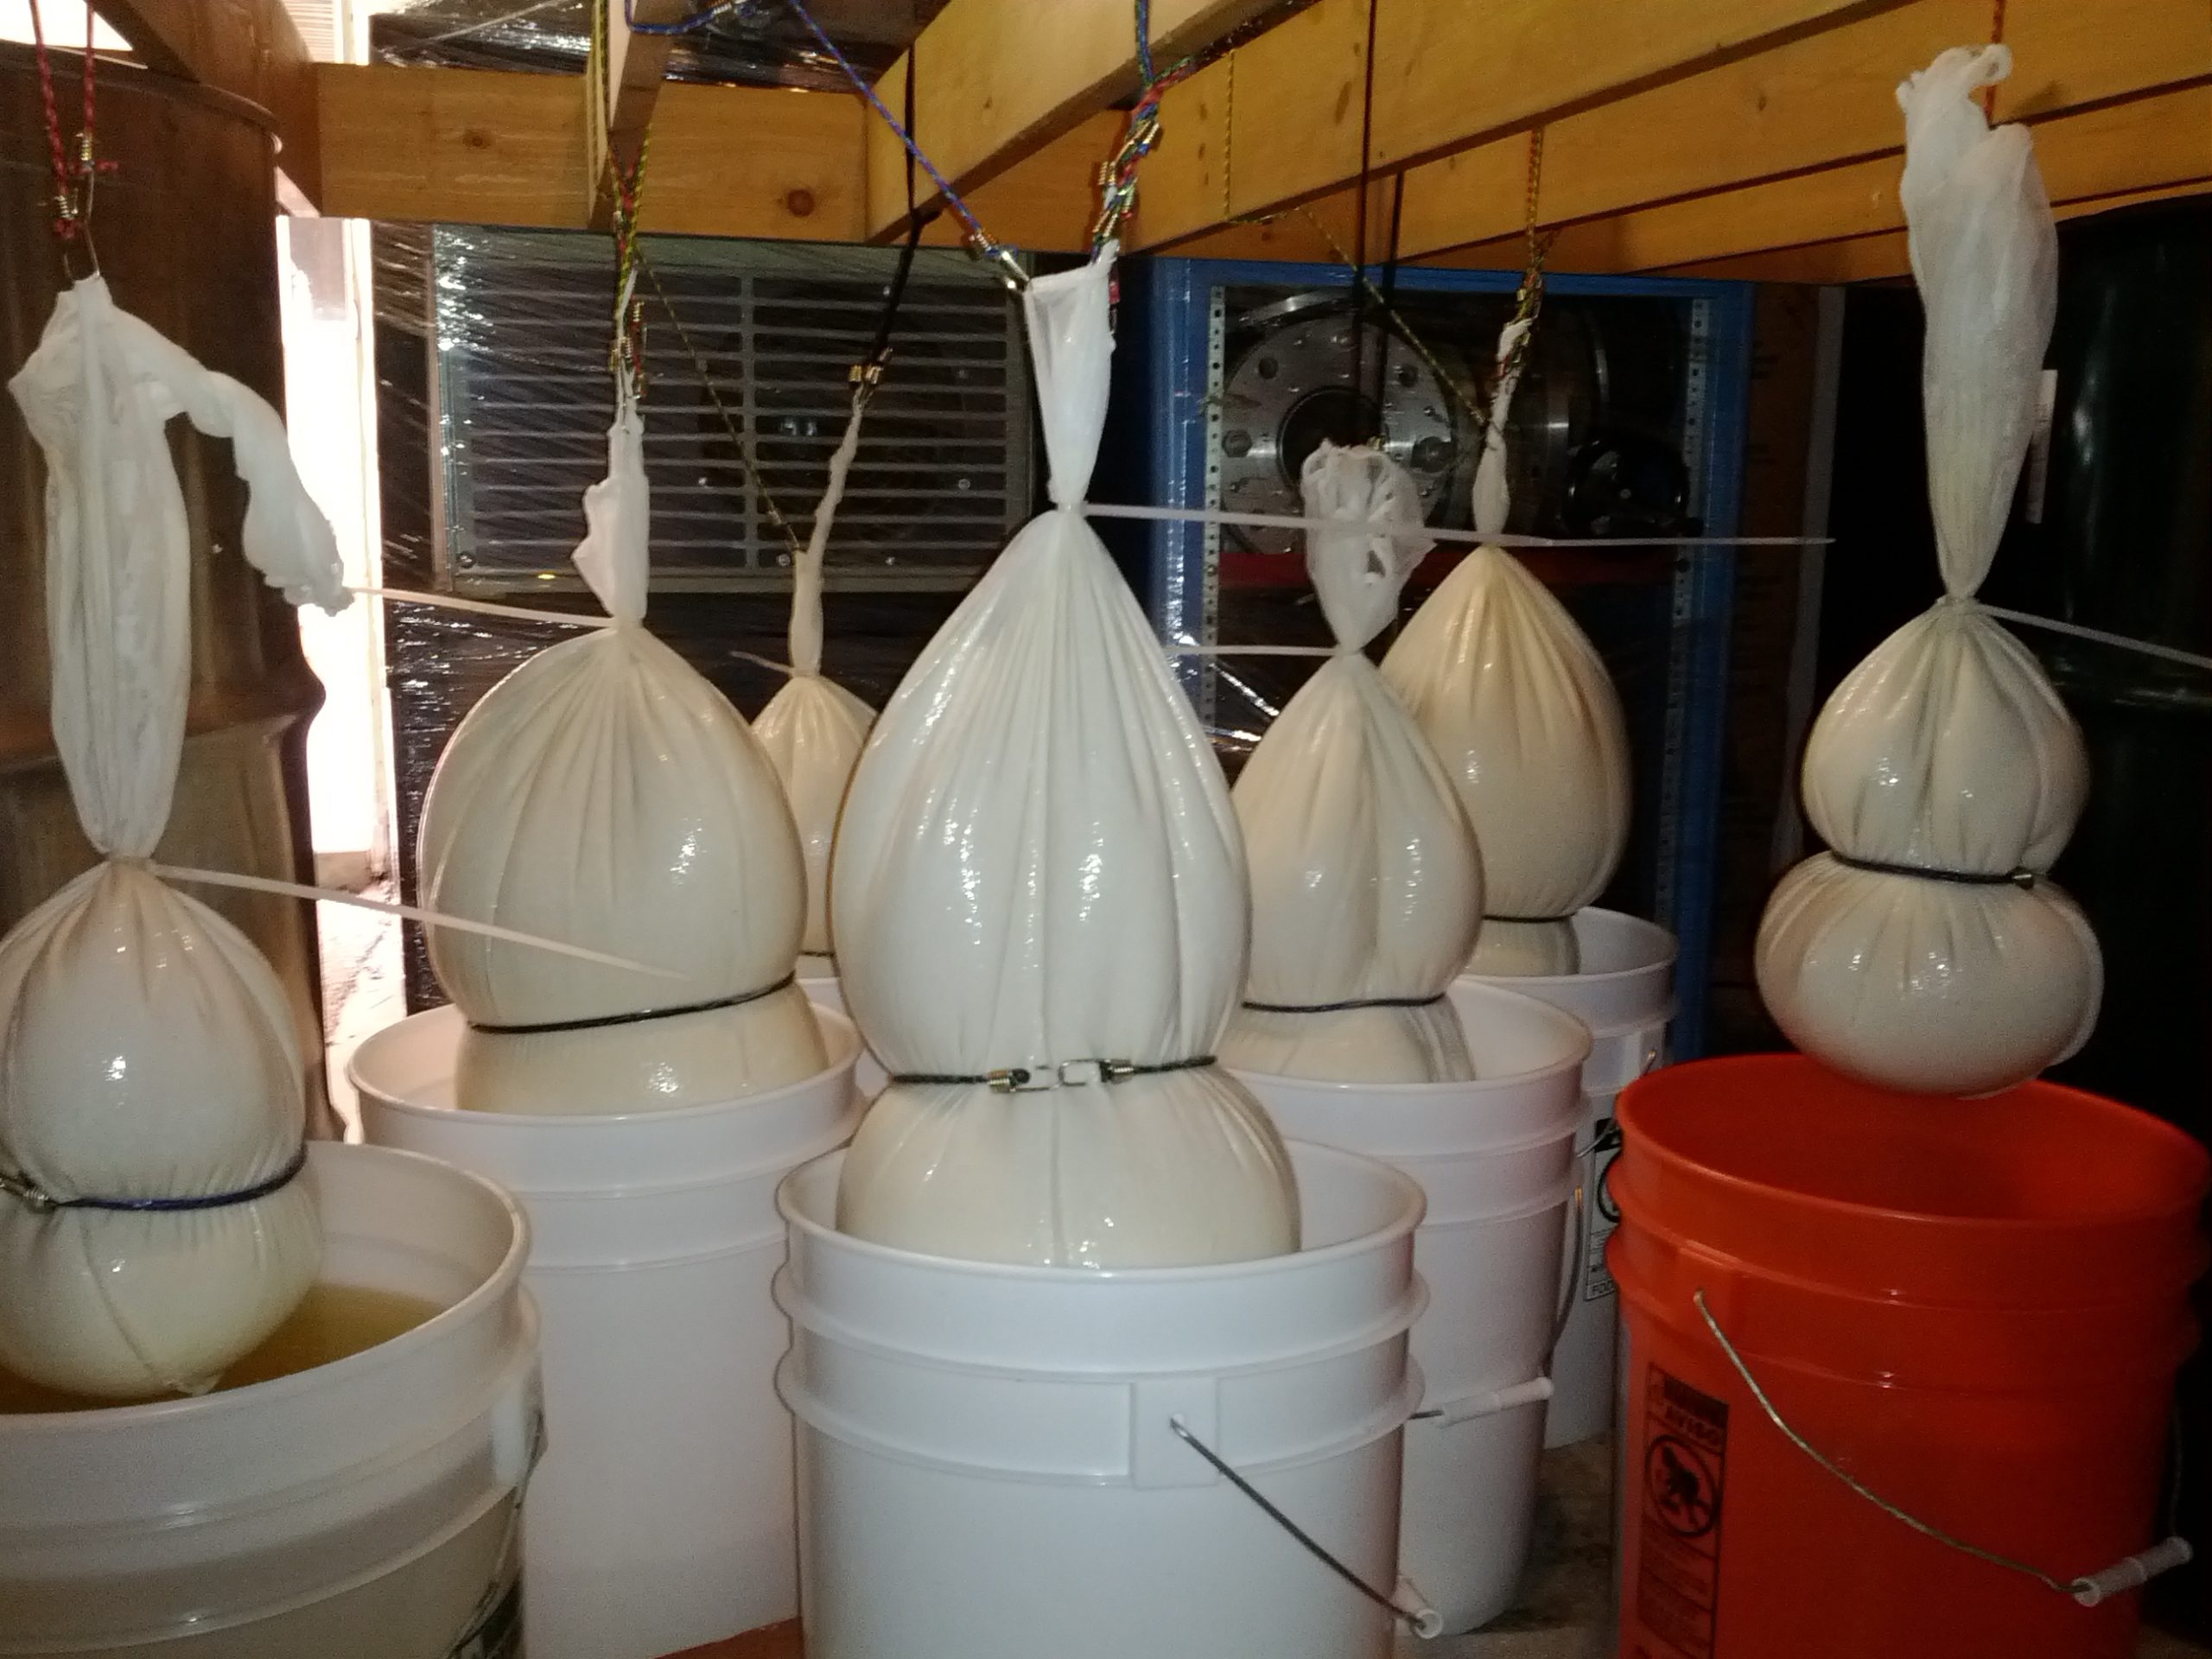
Pressing can be done one of three ways: the most common (probably 99%) using the assaku-ki machine that squeezes the sake from the lees under high pressure; the second is using a fune: relying on gravity and a little weight on top to gently press the sake; the third and most luxurious – shizuku – is to allow gravity to do the work entirely for you.

9. Filtering is through charcoal. This tends to remove colour and any rougher flavours. The term muroka means this process has been omitted (such as Yamatogawa Shuzo’s big-boned yet zesty and fresh “Snow Blossom”).
10, 11, 12 & 13 Pasteurisation, storing & maturing, diluting, second pasteurisation and bottling. Some of these stages can be omitted, done in a different order, all sorts, it is most confusing!
Most sake is pasteurised after filtration to stop the fermentation by killing any remaining yeasts, etc. it also prolongs its shelf life; however, this stage can be omitted. The sake is then stored in tanks (or in bottles) and matured. It may have been diluted before it was matured in the bottle or it will be diluted now or not at all! After maturation it may be pasteurised again (or for the first time) or not at all. Finally, if it hasn’t been bottled yet it will be now. Phew!
These last few steps are not to be underestimated. They may appear slapdash but actually they’re the toji‘s (Master Brewer’s) opportunity to fine tune his product. By changing the order of things, lengthening or shortening the maturation, etc. he (or she!) can alter taste, character, fragrance, all sorts in his pursuit of perfection.
I hope this gives you an overview of how sake is made and an appreciation of the complexities involved and the skill employed to produce the spectacular array of sake we all know and love.